
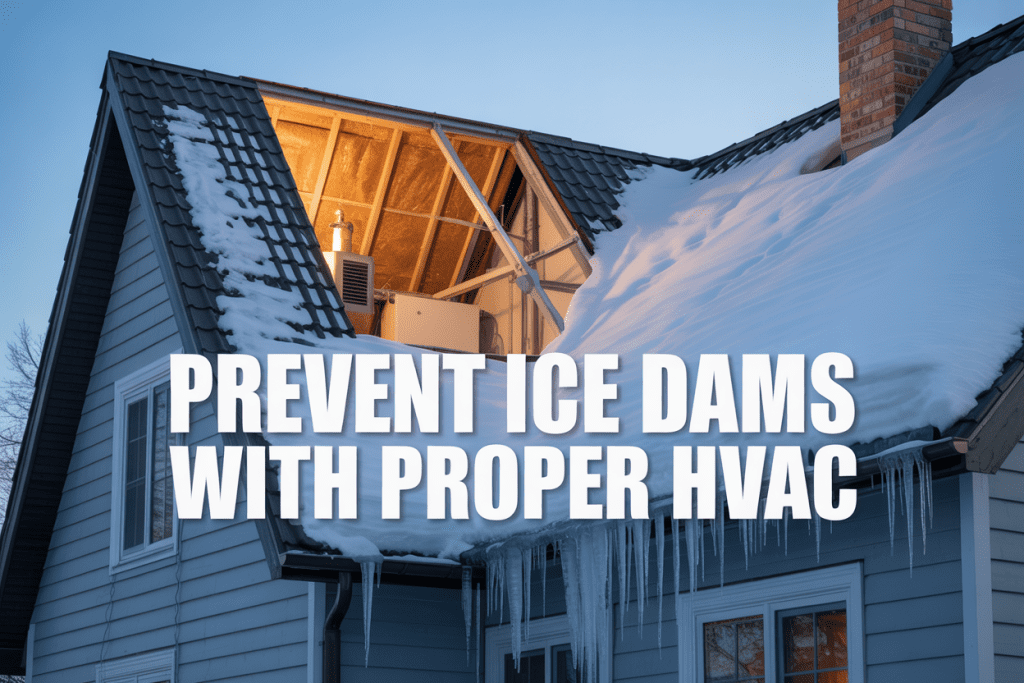
Heavy snowfall can turn your cozy home into an expensive nightmare if ice dams form along your roof edges. You’re not alone if you’ve noticed icicles hanging from your gutters or water stains appearing on your ceilings after a big storm. These warning signs point to a serious problem that affects thousands of homeowners each winter.
This guide is designed for homeowners who want to protect their property from costly roof damage before the next snowstorm hits. You’ll discover how your HVAC system plays a crucial role in ice dams prevention and learn practical steps to safeguard your home.
We’ll walk you through the science behind ice dam formation and why they can cost you thousands in repairs. You’ll also learn how to optimize your attic insulation ice dams strategy and improve attic ventilation ice dam prevention to keep your roof temperatures consistent. Finally, we’ll cover essential HVAC tips winter homeowners need, including system adjustments during heavy snow events and emergency snow removal strategies that keep you safe while protecting your investment.
Understanding Ice Dams and Their Costly Consequences
How ice dams form during heavy snowfall
Ice dams develop when your roof creates an uneven temperature pattern during winter storms. When warm air from your home escapes into the attic, it heats the roof deck above, causing snow to melt from the bottom up. This melted snow flows down toward your gutters, but once it reaches the colder eaves and overhangs—areas that extend beyond your heated home—it refreezes into solid ice.
As this cycle repeats during heavy snowfall, the ice buildup grows thicker, creating a dam that blocks proper drainage. New meltwater gets trapped behind this barrier, with nowhere to go except under your shingles and into your home. The process accelerates when outdoor temperatures hover around freezing, creating perfect conditions for the melt-and-freeze cycle that builds dangerous ice formations.
Warning signs of ice dam development on your roof
You can spot ice dam formation before it becomes catastrophic by watching for key indicators. Large icicles hanging from your gutters signal that water is freezing at the roof edge, though not all icicles mean you have ice dams. More telling signs include thick ridges of ice forming along your roofline and gutters that appear packed with ice rather than flowing freely.
Inside your home, watch for:
- Water stains on ceilings near exterior walls
- Peeling paint or wallpaper in upper-level rooms
- Musty odors that could indicate hidden moisture
- Ice formations visible in your attic space
- Frost buildup on attic insulation
Pay attention to your energy bills too. If your heating costs spike during snowy periods, your HVAC system might be working overtime to compensate for heat loss that’s contributing to ice dam formation.
Expensive damage ice dams cause to roofs and gutters
The financial impact of ice dam damage can be staggering, often running into thousands of dollars for repairs. Ice dams tear off gutters, rip away roof shingles, and damage fascia boards as the expanding ice exerts tremendous pressure on your roofing system. The weight alone can cause structural damage—a cubic foot of ice weighs about 57 pounds, and large ice dams can contain several tons of frozen water.
Your gutters bear the brunt of this damage. Ice expansion can crack or completely destroy gutter systems, requiring full replacement rather than simple repairs. Downspouts often split or separate from the house, and gutter hangers get torn from the fascia boards. The constant freeze-thaw cycle loosens roofing materials, allowing wind-driven rain and snow to penetrate your home’s envelope even after the ice melts.
Roof damage extends beyond the visible surface. Ice dams can lift shingles, tear roofing membranes, and damage the underlying decking. Professional roof ice dam repair often requires extensive shingle replacement and structural work that could have been prevented with proper HVAC maintenance and ventilation.
Interior water damage risks from ice dam leaks
Water finds its way into your home through the smallest gaps once ice dams form, and the resulting interior damage often costs more than the exterior repairs. Water infiltration ruins insulation, making it less effective and creating conditions for mold growth that can affect your family’s health—similar to other indoor air quality concerns that require professional attention.
The water damage spreads quickly through your home’s structure:
- Ceiling and wall damage requiring drywall replacement
- Hardwood floor warping and buckling
- Carpet and padding destruction
- Electrical system damage creating safety hazards
- Furniture and personal property destruction
Mold growth becomes a serious concern within 24-48 hours of water infiltration, especially in areas with poor ventilation. This creates ongoing health risks and expensive remediation costs that can exceed the original roof damage. The moisture also compromises your home’s structural integrity over time, affecting wooden framing members and creating long-term stability issues that require extensive repairs.
Optimize Your Attic Insulation to Prevent Heat Loss
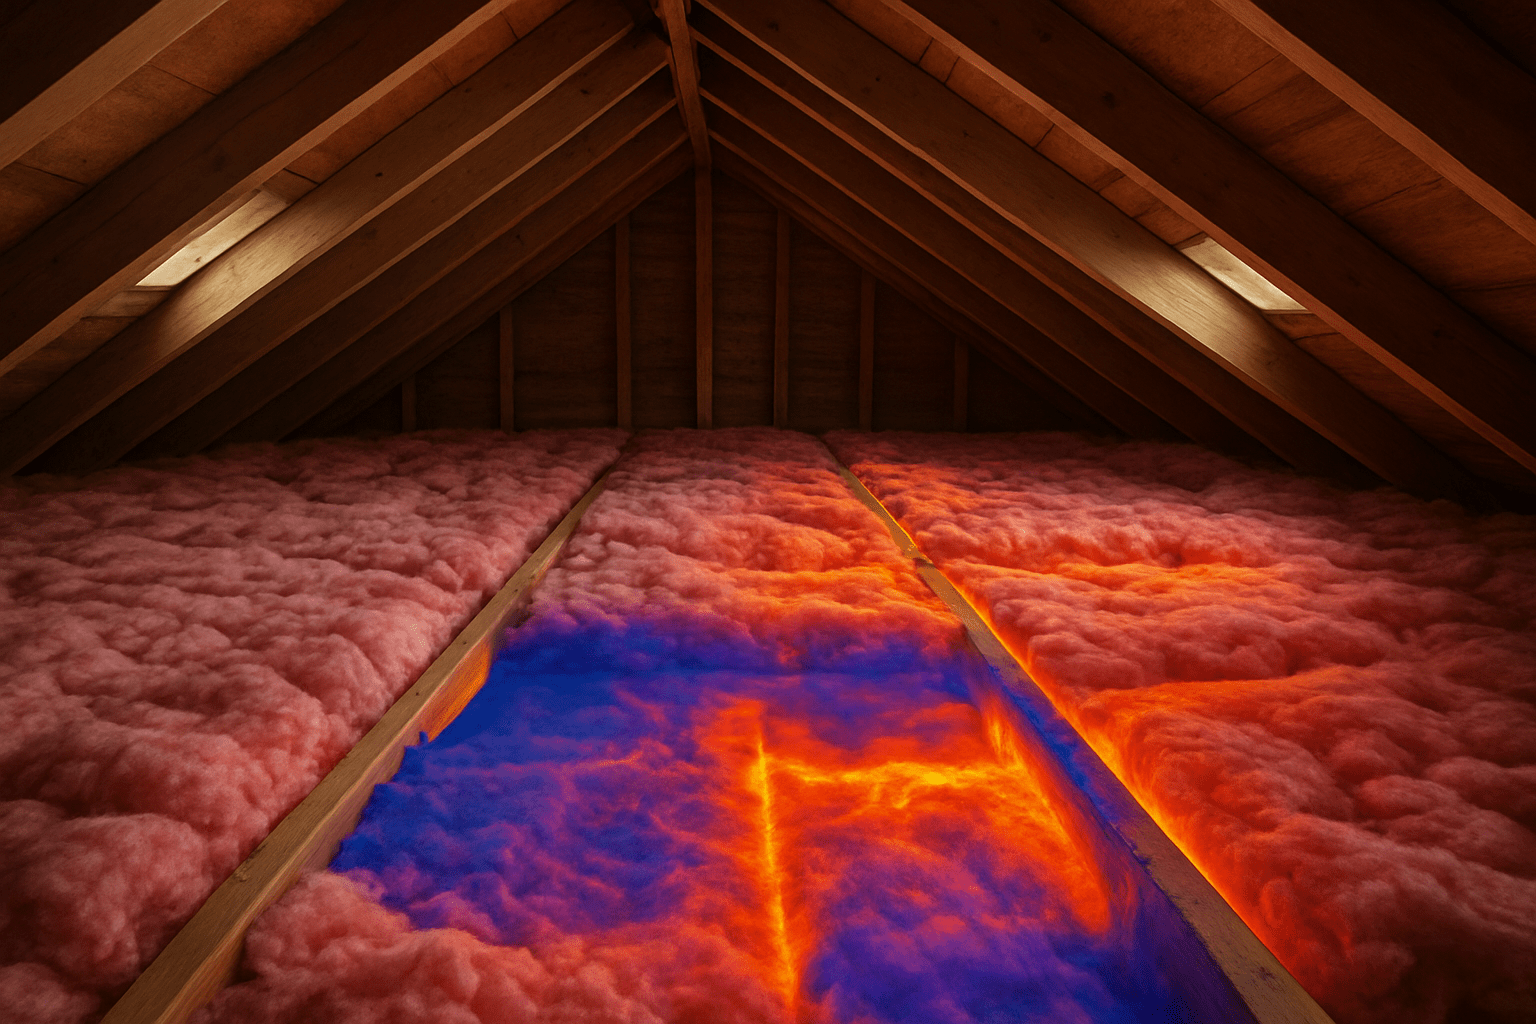
Install Proper R-Value Insulation for Your Climate Zone
Your attic insulation’s R-value determines how effectively it resists heat transfer, making it your first line of defense in ice dams prevention. Climate zones across the United States require different insulation levels, with northern regions needing R-49 to R-60 and southern areas requiring R-30 to R-49. Check your local building codes to determine the recommended R-value for your specific location.
Fiberglass batts, blown-in cellulose, and spray foam each offer different benefits for attic insulation ice dams prevention. Blown-in insulation often provides superior coverage around irregular surfaces and hard-to-reach areas, while spray foam creates an excellent air barrier. If you’re upgrading existing insulation, you can add layers on top of what’s already there, but make sure the total R-value meets current standards for your climate zone.
Seal Air Leaks Around Penetrations and Gaps
Air leaks sabotage even the best insulation by allowing warm air to escape into your attic space. You’ll find these sneaky gaps around electrical penetrations, plumbing vents, recessed lights, and where walls meet the ceiling. Use caulk for small gaps and expanding foam for larger openings, but be careful around heat-generating fixtures like recessed lights.
Focus on these common leak locations: around the chimney, where ducts pass through the ceiling, electrical boxes, and the attic access door. These areas often get overlooked during initial construction but become major contributors to uneven roof temperatures that lead to ice dam formation. Weatherstripping around your attic access door can eliminate another significant source of air leakage.
Poor Indoor Air Quality Solutions can also result from inadequate air sealing, as moisture and contaminants move more freely through your home’s envelope when gaps exist.
Create Uniform Insulation Coverage Without Compression
Compressed insulation loses much of its effectiveness, so you need to maintain proper loft and coverage throughout your attic space. When insulation gets squashed, air pockets that provide thermal resistance disappear, creating hot spots on your roof that contribute to ice dam formation.
Pay special attention to areas around trusses, joists, and mechanical equipment where insulation tends to get disturbed or compressed. Use insulation baffles to maintain proper airflow while keeping insulation away from soffit vents. Your insulation should cover the entire attic floor evenly, extending all the way to the exterior walls without blocking ventilation pathways.
Avoid walking on insulation during installation or maintenance, as footprints create permanent compressed areas that reduce thermal performance. If you must access certain areas, use boards or planks to distribute your weight across multiple joists.
Improve Attic Ventilation for Consistent Roof Temperatures
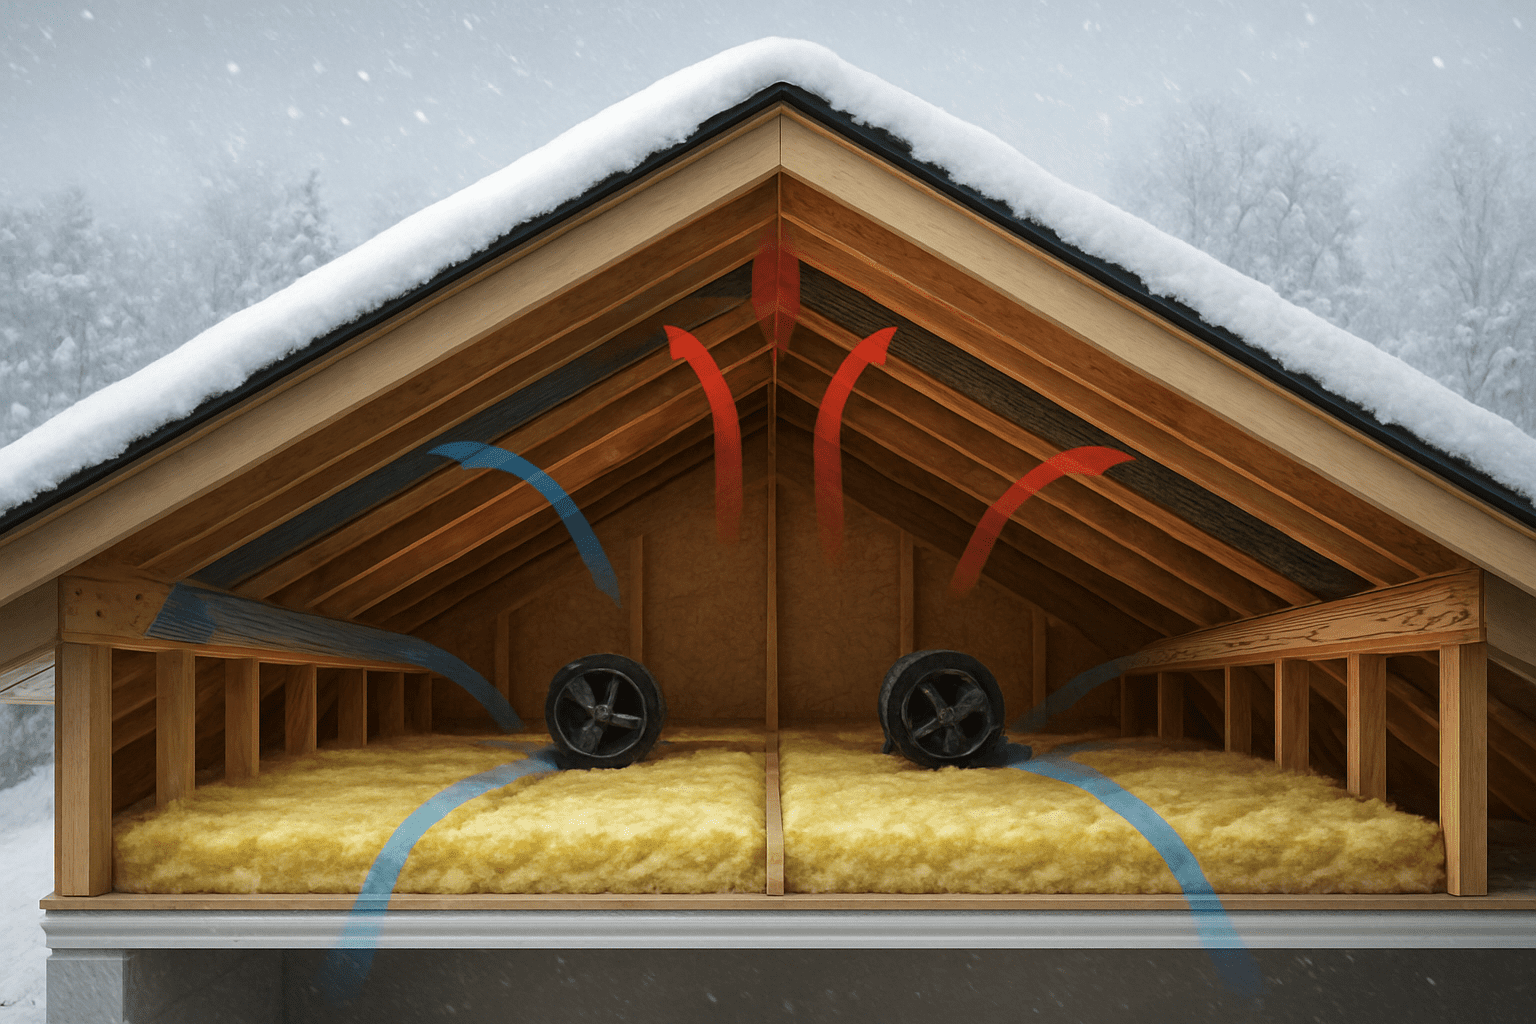
Balance intake vents at soffits with exhaust vents at ridge
Proper attic ventilation ice dam prevention starts with creating a balanced airflow system that pulls cold air in through your soffit vents and pushes warm air out through ridge vents. You need equal amounts of intake and exhaust ventilation to maintain consistent roof temperatures that prevent ice formation.
Your soffit vents should run continuously along the eaves, allowing cold outside air to enter the attic space. This incoming air picks up any warm air that’s accumulated and carries it upward toward the ridge vents. Without this balance, warm air gets trapped in your attic, heating the roof deck and melting snow that refreezes at the gutters.
Check that your ridge vents extend along the entire peak of your roof. Many homes have inadequate ridge ventilation, which creates pressure imbalances that reduce airflow effectiveness. You want the exhaust capacity at the ridge to match or slightly exceed the intake capacity at the soffits.
Calculate proper ventilation square footage requirements
Building codes require one square foot of ventilation for every 150 square feet of attic floor space, split evenly between intake and exhaust. For a 1,500-square-foot attic, you need 10 square feet total – 5 square feet of intake vents and 5 square feet of exhaust vents.
However, many HVAC professionals recommend increasing this to one square foot per 100 square feet of attic space for better ice dams prevention in heavy snow areas. This enhanced ventilation keeps roof temperatures more consistent during extreme weather events.
Measure your existing vents to determine if you meet these requirements:
| Vent Type | Formula | Example (1,500 sq ft attic) |
|---|---|---|
| Soffit Intake | Attic sq ft ÷ 300 | 5 sq ft minimum |
| Ridge Exhaust | Attic sq ft ÷ 300 | 5 sq ft minimum |
| Enhanced Formula | Attic sq ft ÷ 200 | 7.5 sq ft each type |
Clear blocked vents from snow and debris
Snow accumulation and debris regularly block your ventilation system, especially during heavy snowfall events. Walk around your home’s perimeter after each storm to check soffit vents for snow buildup or ice blockages.
Use a long-handled brush or leaf blower to clear snow from soffit vents, but avoid aggressive scraping that could damage the vent covers. For ridge vents, safely remove snow buildup using a roof rake from the ground level – never climb on a snow-covered roof.
Leaves, bird nests, and other debris also restrict airflow year-round. Schedule quarterly inspections to remove obstructions and ensure your vents maintain proper function. Pay special attention to corner areas where debris tends to accumulate.
Install baffles to maintain airflow paths
Insulation often blocks the airflow path from soffit vents to the attic space, creating dead air pockets that defeat your ventilation system. Install rigid foam or cardboard baffles between each rafter to create clear channels for air movement.
Position baffles so they extend from the soffit opening up into the attic, creating a tunnel that prevents insulation from settling into the airflow path. You need baffles in every rafter bay that has a corresponding soffit vent.
Proper baffle installation also prevents insulation from getting wet when cold air enters through the soffits. This protects your insulation’s R-value and prevents moisture problems that can compromise your home’s Indoor Air Quality Solutions and create mold growth in the attic space.
Adjust HVAC System Settings During Heavy Snow Events
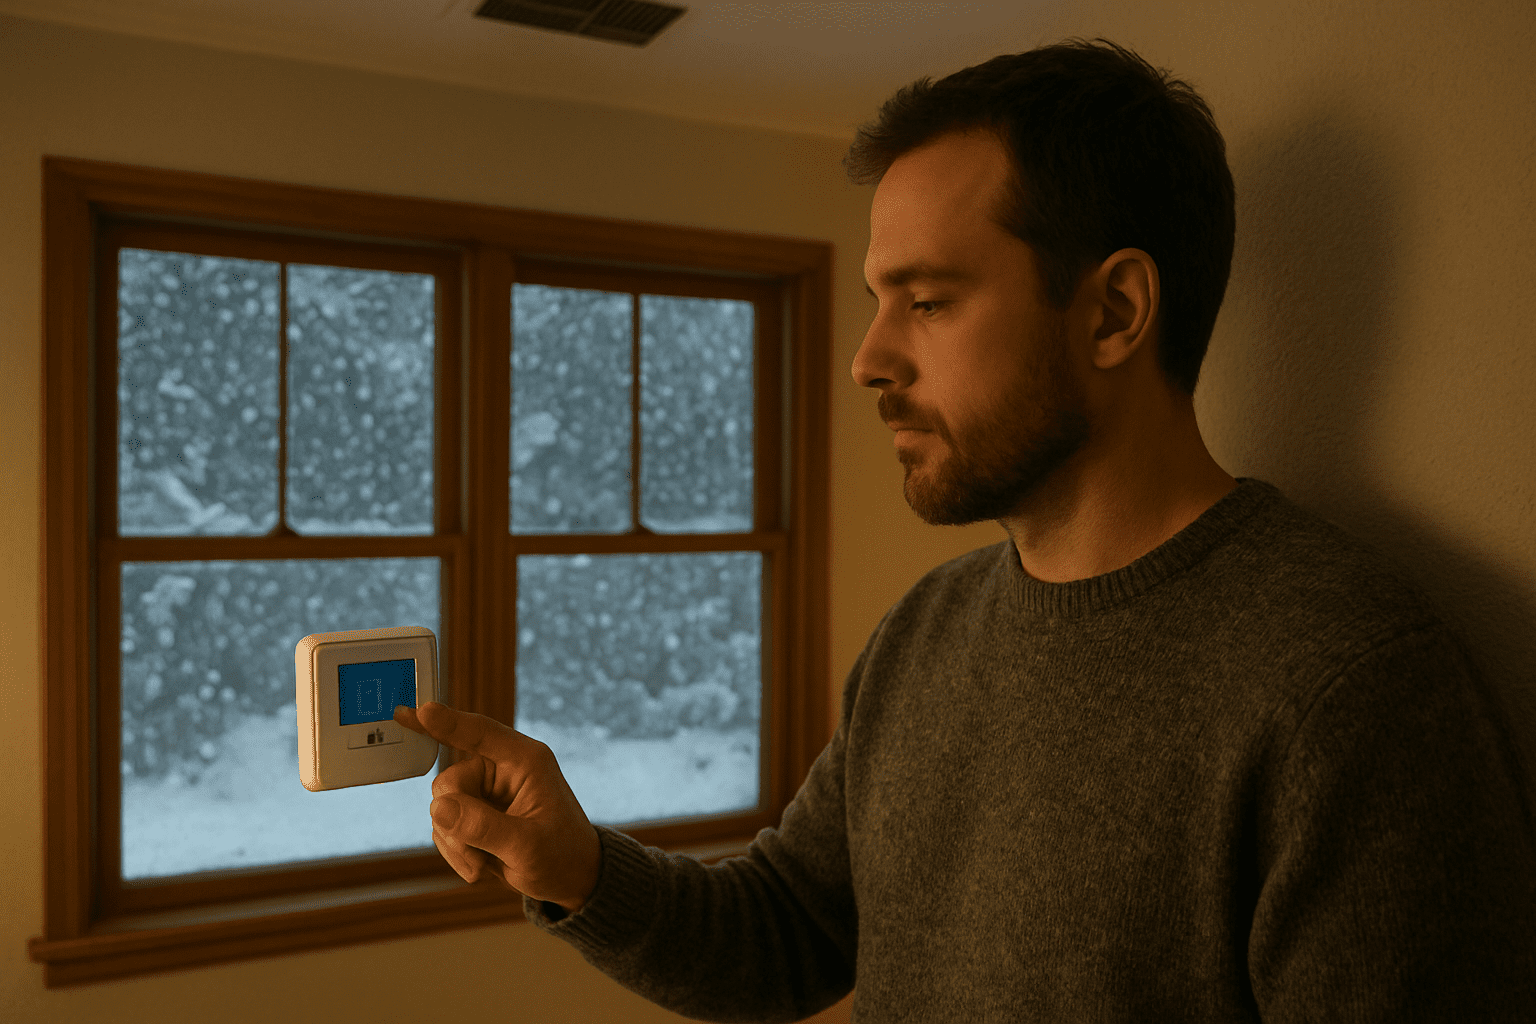
Lower thermostat settings to reduce heat transfer to attic
When heavy snow blankets your roof, your HVAC system becomes your first line of defense against ice dam formation. Reducing your thermostat by 3-5 degrees during snowfall periods can make a significant difference in preventing excessive heat transfer to your attic space. This simple adjustment keeps your roof temperature more consistent with outdoor conditions, preventing the freeze-thaw cycle that creates dangerous ice dams.
You’ll want to time this temperature reduction strategically. Start lowering your thermostat settings when weather forecasts predict heavy snowfall lasting more than 24 hours. The temporary comfort trade-off pays dividends by protecting your roof structure and preventing costly water damage. Most homeowners find that wearing an extra layer indoors during snow events is a small price to pay for avoiding thousands in roof damage prevention heavy snow repairs.
Your heating system works harder during extreme weather, making this temperature adjustment even more critical. The reduced thermal load helps maintain stable attic temperatures while your HVAC system operates more efficiently overall.
Ensure proper ductwork sealing in unconditioned spaces
Leaky ductwork in your attic, crawl spaces, or basement creates hot spots that contribute directly to ice dam formation. These air leaks pump warm air into areas where it shouldn’t be, creating uneven roof temperatures that spell trouble during winter storms.
Focus your attention on ductwork joints, connections, and any sections running through unconditioned spaces. Use mastic sealant or metal tape—never standard duct tape—to seal gaps and cracks. Pay special attention to:
- Register boots and connections
- Return air ducts in attic spaces
- Flexible ductwork connections
- Areas where ducts penetrate walls or floors
Professional duct sealing can reduce energy loss by 20-30%, making it one of the most effective HVAC tips winter homeowners can implement. When your ductwork is properly sealed, heated air stays where it belongs—inside your living spaces rather than warming your attic.
Consider scheduling a duct blaster test to identify problem areas you might miss during visual inspection. This investment in Indoor Air Quality Solutions RI not only helps prevent ice dams but improves overall system efficiency year-round.
Monitor heating system efficiency during extreme weather
Your heating system faces its biggest challenges during heavy snowfall events, making performance monitoring essential for both efficiency and ice dams prevention. Watch for warning signs that indicate your system is struggling or creating conditions ripe for roof problems.
Check these key indicators during winter storms:
- Uneven heating between rooms or floors
- Frequent cycling on and off
- Higher than normal energy bills during comparable weather periods
- Reduced airflow from registers
- Strange noises or unusual operation patterns
When your heating system operates inefficiently, it often compensates by running longer cycles or producing inconsistent temperatures. This irregular operation creates the perfect storm for attic overheating and subsequent ice dam formation.
Replace air filters before heavy snow events and keep spare filters on hand. Clogged filters force your system to work harder, creating excess heat that migrates to unwanted areas. Clean filters improve airflow and help maintain steady temperatures throughout your home.
Document your system’s performance during different weather conditions. This baseline helps you spot problems early and provides valuable information for HVAC professionals if repairs become necessary. Winter HVAC maintenance becomes much easier when you understand how your system typically responds to extreme weather events.
Implement Emergency Snow Removal Strategies
Safe techniques for removing snow from roof edges
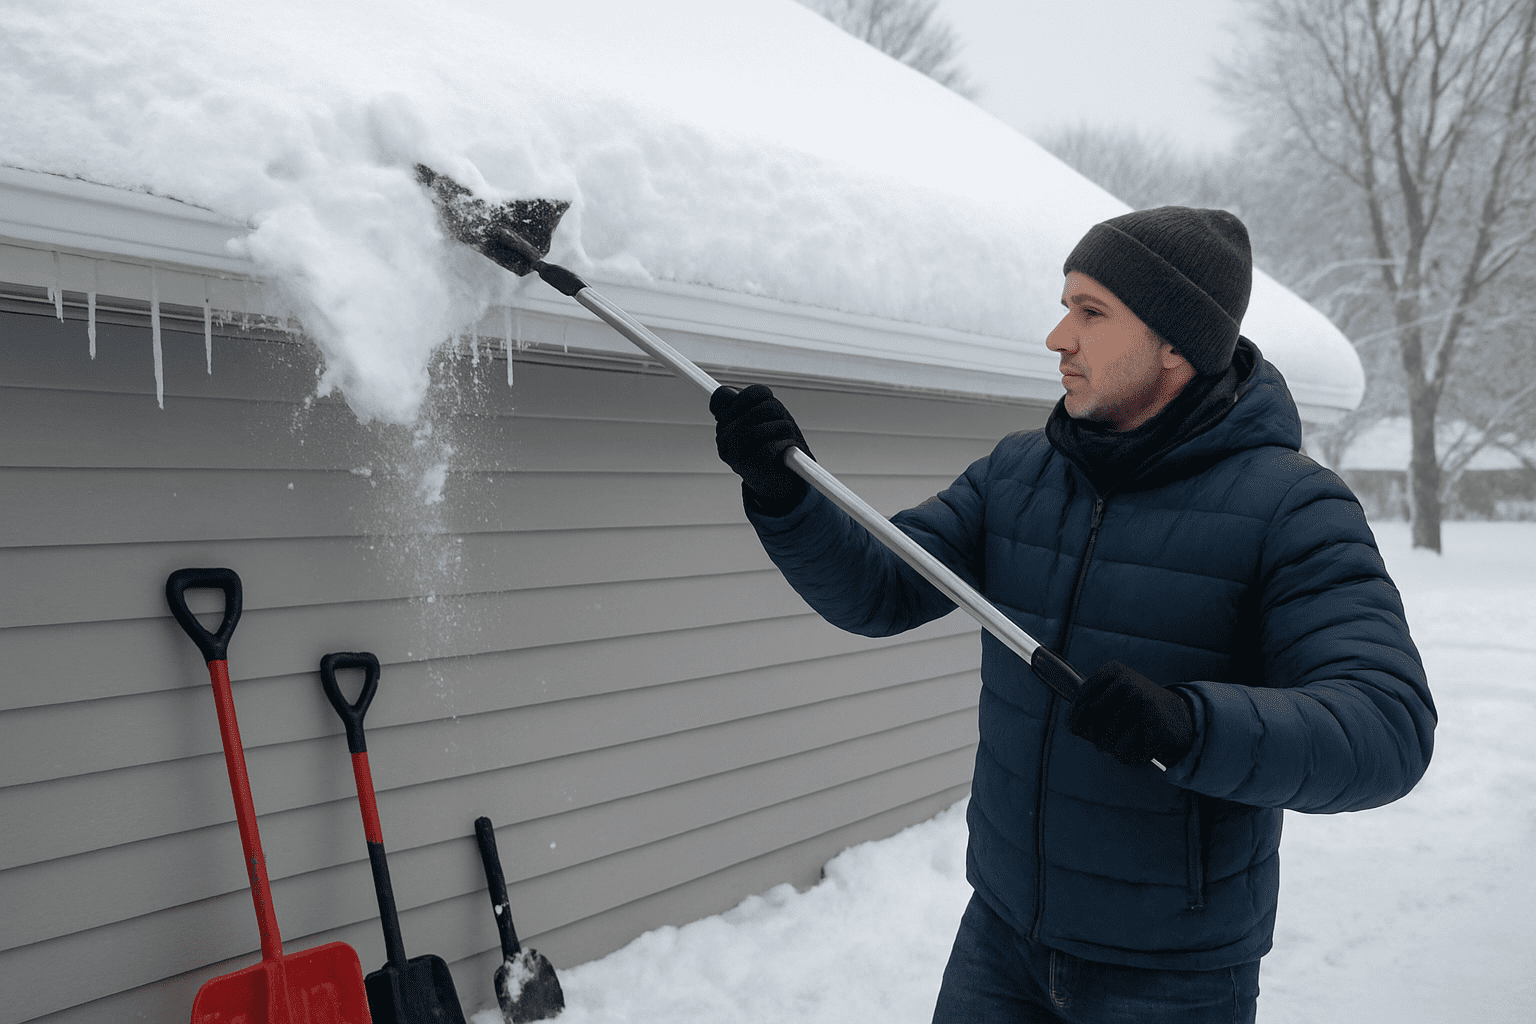
When heavy snowfall threatens your roof’s integrity, you need to act quickly but carefully. Start by clearing snow from your roof’s edges using a roof rake from ground level—never climb onto a snow-covered roof yourself. Focus on the first three to four feet from the edge, as this is where ice dams typically form when warm air from your attic melts snow higher up.
Use smooth, pulling motions rather than chopping or scraping, which can damage shingles. Work in small sections and always stand to the side of where snow will fall, not directly below. If you’re dealing with ice formations, avoid using sharp tools like axes or ice picks that can puncture your roofing materials.
For safety, clear pathways around your home’s perimeter and ensure good footing before starting any snow removal roof safety procedures. Remember that falling snow and ice can be extremely dangerous, so warn family members to stay clear of the area while you work.
When to call professional snow removal services
Professional help becomes necessary when snow depths exceed 12 inches on your roof or when you notice visible sagging, creaking sounds, or doors and windows that suddenly won’t close properly. These signs indicate dangerous snow loads that require immediate attention.
You should also call professionals when ice dams have already formed and are causing active leaks, or when your roof design includes multiple levels, steep pitches, or complex angles that make DIY removal dangerous. Professional services have specialized equipment like steamers that can safely remove ice without damaging your roofing materials.
Don’t attempt removal yourself if you’re dealing with wet, heavy snow that’s difficult to move, or if icy conditions make footing treacherous. Professional heavy snowfall roof protection services typically cost between $200-$500, which is minimal compared to potential roof damage repairs that can reach thousands of dollars.
Install heating cables as temporary ice dam prevention
Heating cables offer an effective short-term solution when installed along roof edges and gutters before heavy snowfall arrives. These electric cables create channels that allow melting snow to drain properly, preventing the freeze-thaw cycle that creates ice dams.
Install cables in a zigzag pattern along the roof edge, extending about three feet up from the gutter line. Make sure to follow manufacturer specifications for spacing—typically 12-18 inches apart depending on your roof pitch and local climate conditions. Connect cables to a GFCI-protected outlet and consider adding a timer or temperature sensor to control operation automatically.
While heating cables provide immediate relief, they’re not a permanent fix for underlying issues like poor attic insulation or ventilation problems. Use them as part of a comprehensive approach that includes proper indoor air quality solutions and HVAC maintenance to address the root causes of ice dam formation.
Plan to remove cables each spring to prevent damage from summer heat and reinstall them before the next winter season. Quality heating cables typically last 3-5 years with proper installation and maintenance.
Your HVAC system plays a bigger role in preventing ice dams than you might realize. By focusing on proper attic insulation, improving ventilation, and making smart adjustments during heavy snowfall, you can save yourself from thousands of dollars in roof repairs and water damage. The key is maintaining consistent temperatures across your roof surface, which stops that dangerous cycle of melting and refreezing that creates ice dams in the first place.
Don’t wait until the next big storm hits to take action. Start by checking your attic insulation levels and sealing any air leaks you find. Make sure your attic ventilation is working properly, and consider having your HVAC system inspected before winter arrives. When heavy snow does fall, adjust your thermostat settings and have a plan ready for safe snow removal. These simple steps will protect your home and give you peace of mind all winter long.
Protect your roof and your wallet—prevent ice dams before they start! For attic ventilation, insulation, or HVAC solutions that keep your home safe, contact UGNasons. Visit ugnasons.com, call (401) 847-2497, or email [email protected] for a winter weather consultation.