
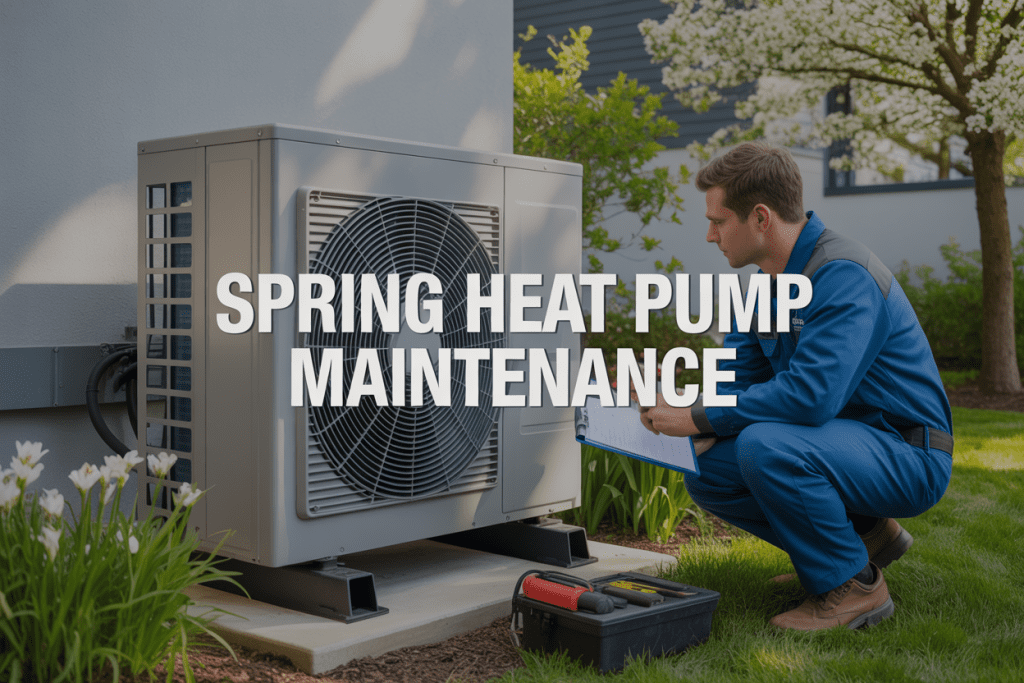
Your heat pump has been working overtime through the winter months, and now it’s time to give it the spring attention it deserves. As a homeowner who relies on your heat pump for year-round comfort, you need to know how to properly transition your system from heating to cooling mode while keeping it running smoothly.
Spring heat pump maintenance isn’t just about changing filters – it’s about catching small issues before they become expensive repairs and making sure your system is ready to handle the upcoming cooling season. Without proper seasonal heat pump service, you could face higher energy bills, poor indoor air quality, or complete system failure when you need cooling most.
In this guide, you’ll discover the warning signs that tell you when your heat pump needs immediate spring attention and learn the essential spring cleaning tasks that keep your system performing at its best. We’ll also walk you through the critical component inspections that prevent costly breakdowns and help you decide whether to tackle maintenance yourself or call in the professionals.
Signs Your Heat Pump Needs Spring Attention
Unusual Noises During Operation
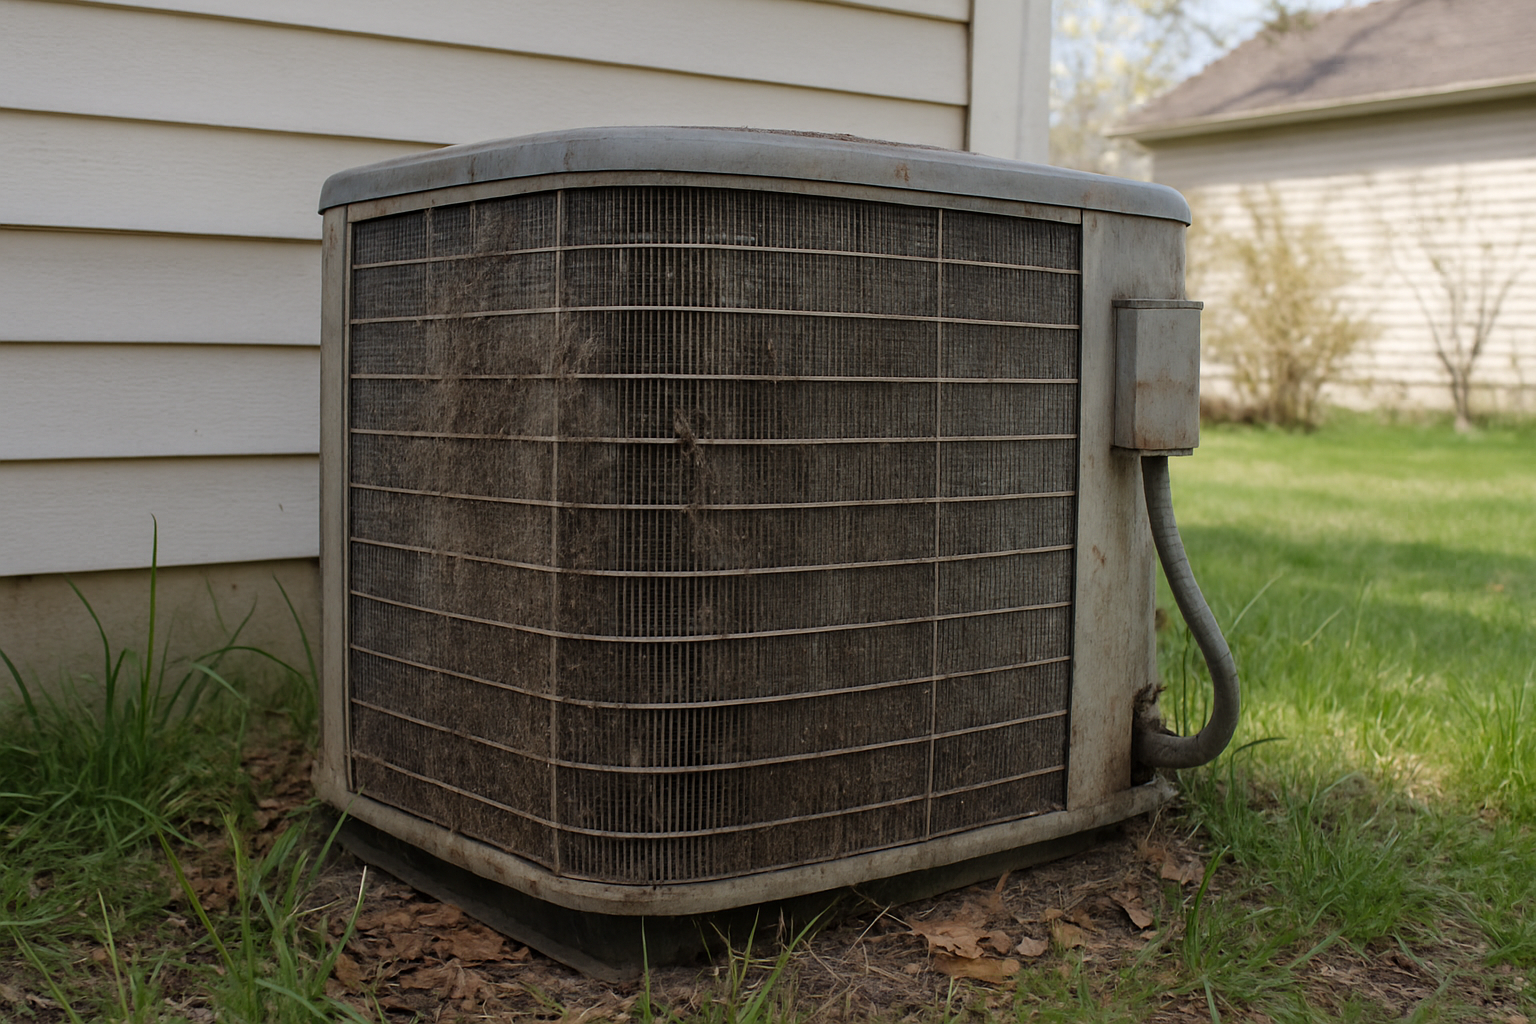
Your heat pump shouldn’t sound like it’s hosting a symphony of mechanical chaos. If you’re hearing grinding, squealing, or banging sounds that weren’t there before, your system is crying out for spring heat pump maintenance attention. These noises often signal worn bearings, loose components, or debris trapped in the outdoor unit after a long winter.
That high-pitched squealing you hear when the system kicks on? It’s likely your fan motor bearings telling you they need lubrication or replacement. Grinding sounds usually mean metal components are rubbing against each other where they shouldn’t be. Banging or clanking noises could indicate loose fan blades or damaged internal parts that winter weather has compromised.
Don’t ignore these audio warnings. What starts as a minor noise can quickly escalate into a major repair if left unchecked. Your heat pump is essentially giving you an early warning system – take advantage of it.
Reduced Heating or Cooling Efficiency
When your heat pump starts struggling to maintain comfortable temperatures, it’s waving a red flag for seasonal heat pump service. You’ll notice your system running longer cycles to reach the thermostat setting, or maybe certain rooms never quite get comfortable anymore.
This efficiency drop often happens gradually, so you might not realize how much performance you’ve lost until you compare your current comfort levels to what they were months ago. Your heat pump might be working overtime due to dirty coils, clogged filters, or refrigerant issues that developed over the winter months.
Pay attention to how long your system runs to heat or cool your home. If it’s cycling more frequently or running continuously without reaching your set temperature, your heat pump maintenance checklist needs immediate attention. This inefficiency doesn’t just affect your comfort – it’s also driving up your energy costs.
Higher Than Normal Energy Bills
Your utility bills don’t lie. When they start climbing without a corresponding increase in usage or rate changes, your heat pump is likely working harder than it should. This increased energy consumption often stems from the same issues causing efficiency problems – dirty components forcing your system to work overtime.
Compare your current bills to the same months from previous years. A sudden spike of 15-20% or more in energy costs often indicates your heat pump needs spring maintenance. Dirty filters alone can increase energy consumption by up to 15%, while dirty coils can push that number even higher.
Keep track of your monthly energy usage patterns. Your heat pump should maintain relatively consistent efficiency ratings throughout its lifespan with proper maintenance. When those numbers start creeping up, it’s time for a heat pump tune up spring service to restore optimal performance.
Ice Buildup or Frost Issues
Seeing ice or frost on your heat pump during mild spring weather is never normal. While some frost formation during winter heating mode can be expected, persistent ice buildup indicates serious problems with airflow, refrigerant levels, or defrost cycle operation.
Check your outdoor unit regularly for ice accumulation around the coils or on the refrigerant lines. Ice formation restricts airflow and forces your system to work harder, creating a cycle that only gets worse over time. This problem often develops when dirty coils prevent proper heat transfer or when low refrigerant levels disrupt the normal heating and cooling process.
If you notice ice forming when outdoor temperatures are above freezing, or if the defrost cycle isn’t clearing ice buildup effectively, your system needs immediate professional attention. This isn’t something you should try to fix with hot water or manual ice removal – those approaches can damage expensive components and void your warranty.
Essential Spring Cleaning Tasks for Optimal Performance
Clear debris from outdoor unit and surrounding area
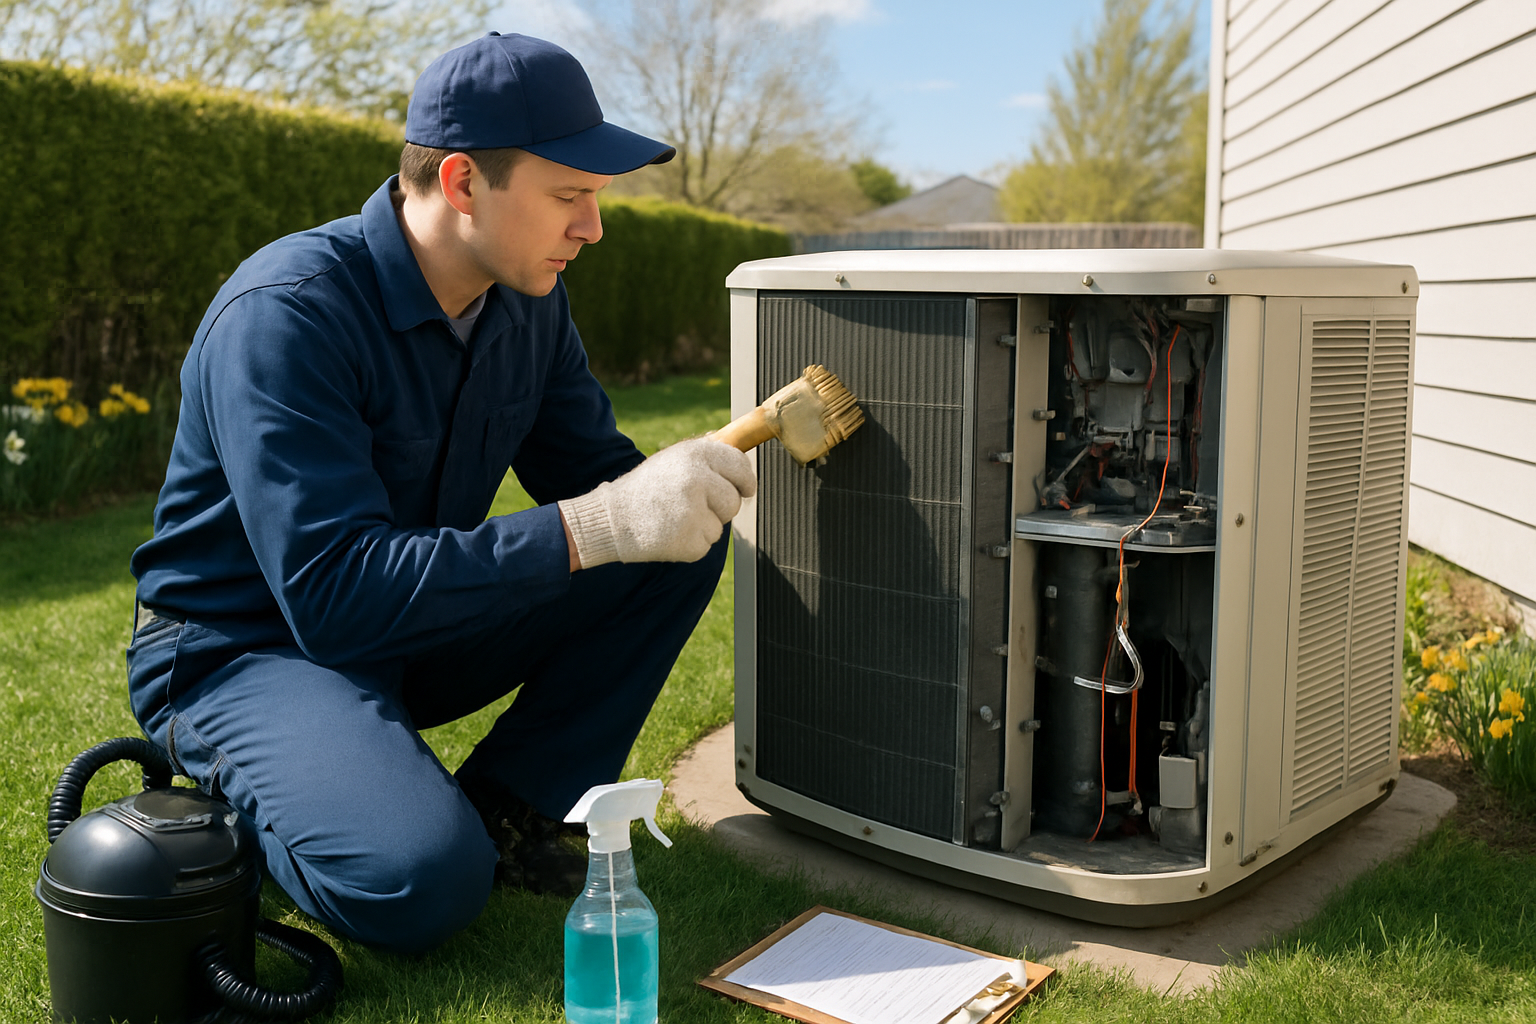
Your outdoor heat pump unit works hard during winter months, and by spring, it’s likely accumulated leaves, twigs, dirt, and other debris around and inside the unit. Start your spring heat pump maintenance by examining the area around your outdoor condenser. You’ll want to clear away any leaves, branches, or accumulated debris from the top and sides of the unit.
Check inside the unit carefully – small sticks, leaves, and even trash can get lodged between the condenser coils and fan housing. Remove these obstructions gently with your hands or use a soft brush to avoid damaging the delicate fins. Don’t forget to look underneath the unit where debris often collects and can block proper drainage.
Create a clear zone of at least two feet around your heat pump on all sides. Trim back any vegetation, bushes, or branches that may have grown too close during the dormant season. This clearance ensures proper airflow, which is critical for efficient operation. Poor airflow forces your system to work harder, increases energy costs, and can lead to premature component failure.
Clean or replace air filters for better airflow
Your heat pump’s air filters play a crucial role in maintaining indoor air quality and system efficiency. During the transition from heating to cooling mode, dirty filters become even more problematic as your system switches functions. Check your filters monthly, but pay special attention during seasonal transitions when your heat pump maintenance checklist should include thorough filter inspection.
Most residential heat pumps use disposable pleated filters that should be replaced every 30-90 days, depending on your home’s conditions. If you have pets, smoke indoors, or live in a dusty area, you’ll need more frequent replacements. Some systems use washable filters that can be cleaned with mild soap and water, then completely dried before reinstalling.
When installing new filters, make sure you’re using the correct size and MERV rating recommended by your manufacturer. Higher MERV ratings aren’t always better – they can restrict airflow if your system wasn’t designed to handle them. A clogged or inappropriate filter forces your heat pump to work harder, reduces efficiency, and can cause the system to freeze up or overheat.
Remove dust and dirt from indoor vents and registers
Your home’s vents and registers accumulate dust, pet hair, and debris throughout the heating season. This buildup restricts airflow and can circulate contaminants throughout your home when you switch to cooling mode. Spring heat pump cleaning should include attention to these often-overlooked components.
Remove vent covers and wash them thoroughly with warm, soapy water. While they dry, use a vacuum with a brush attachment to clean inside the ductwork as far as you can reach safely. Pay attention to return air vents, which tend to collect more debris since they pull air back to the system.
Wipe down the visible portions of your ductwork and check for any obvious gaps or disconnections. Look for signs of mold or excessive dust buildup that might indicate ductwork problems requiring professional attention. Clean vents improve air quality and help your heat pump distribute conditioned air more effectively throughout your home.
Don’t overlook floor registers, which can become clogged with carpet fibers, dust bunnies, and small objects. A thorough cleaning now prevents these obstructions from reducing your system’s efficiency when cooling season begins.
Critical Component Inspections to Prevent Breakdowns
Check refrigerant levels and connections
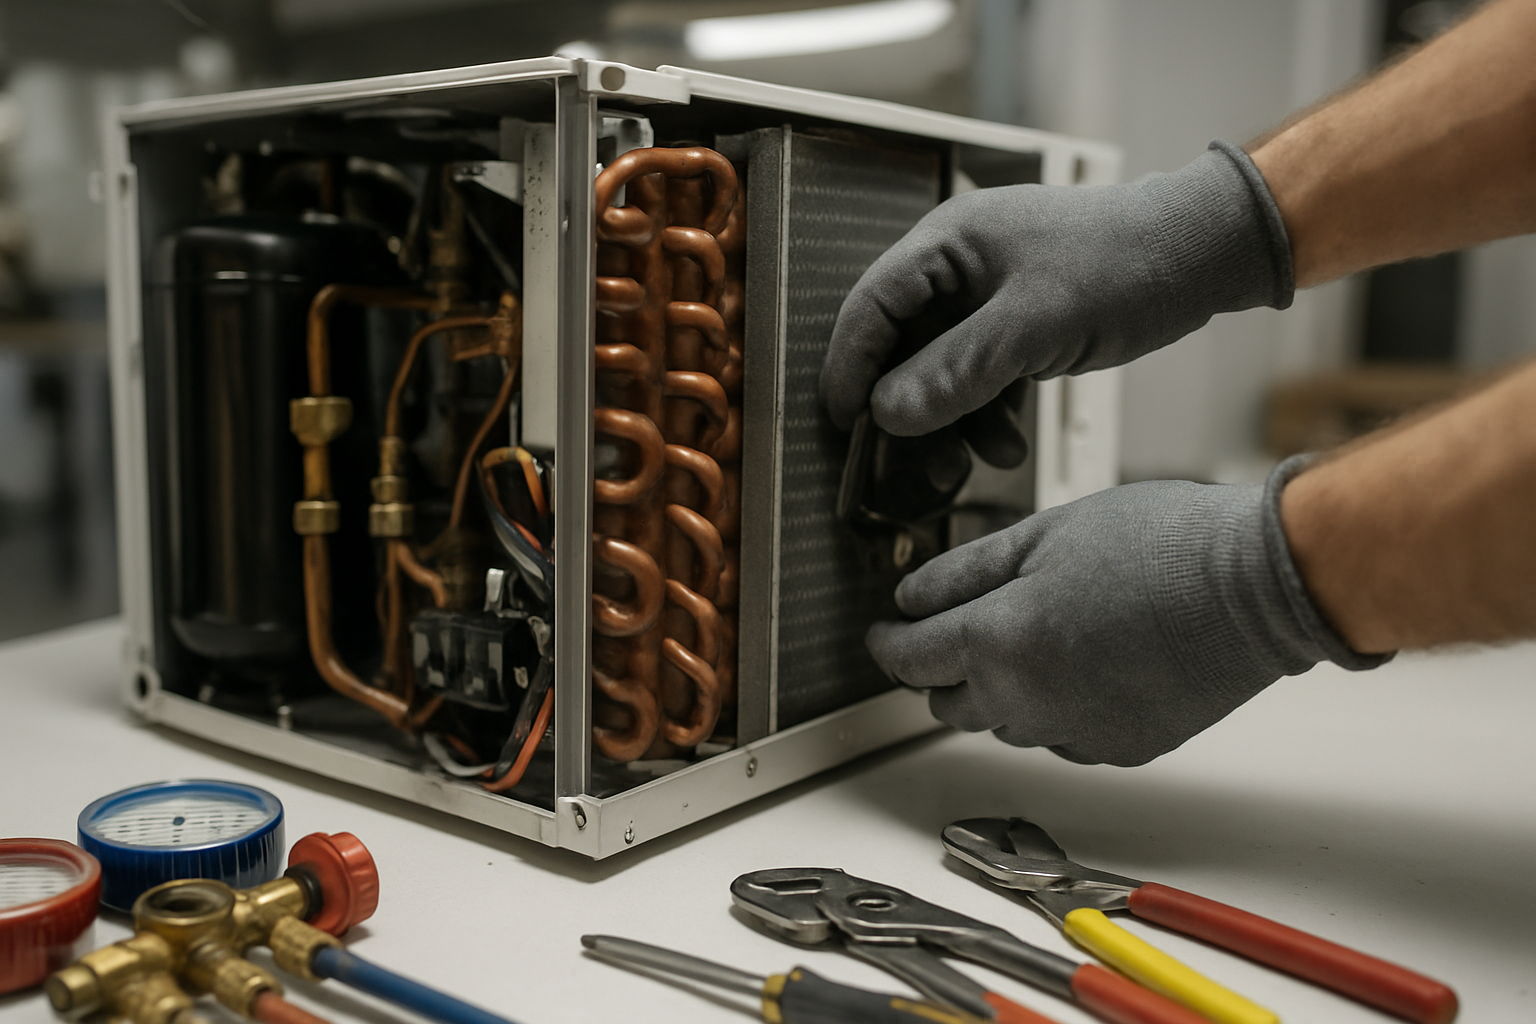
Your heat pump’s refrigerant is the lifeblood of the system, and checking its levels should be a top priority during your spring heat pump maintenance routine. When refrigerant levels drop, your unit works harder to achieve the same cooling or heating output, driving up energy costs and potentially damaging the compressor.
Start by examining all visible refrigerant lines for signs of leaks, including oil stains, ice buildup, or hissing sounds. Pay special attention to connection points where pipes join components – these areas are most prone to developing leaks over time. You’ll also want to inspect the insulation around refrigerant lines, as damaged insulation reduces efficiency and can lead to condensation problems.
While you can visually inspect connections, measuring actual refrigerant levels requires professional gauges and expertise. Low refrigerant typically indicates a leak somewhere in the system, as these are closed-loop systems that don’t consume refrigerant under normal operation. Signs of low refrigerant include reduced cooling capacity, ice formation on coils during cooling mode, and unusual cycling patterns.
Inspect electrical connections and wiring
Electrical issues cause many heat pump breakdowns, making this inspection crucial for your heat pump spring maintenance checklist. Before starting any electrical work, always turn off power to the unit at both the outdoor disconnect and your home’s circuit breaker.
Begin by examining all visible wiring for signs of damage, including frayed insulation, burn marks, or corrosion. Look closely at wire nuts and connection points, as these can loosen over time due to thermal expansion and contraction. Tighten any loose connections you find, but avoid over-tightening, which can damage terminals.
Check the electrical disconnect box near your outdoor unit for signs of moisture intrusion, rust, or damaged fuses. Water damage to electrical components can create serious safety hazards and system failures. Inspect the power cable running from your home to the unit, watching for damage from weather, animals, or landscape equipment.
Don’t forget to examine the low-voltage wiring that connects your thermostat to the heat pump. These thin wires can be damaged by home improvement projects, pets, or simple wear over time.
Examine thermostat functionality and calibration
Your thermostat acts as the brain of your heating and cooling system, so ensuring it functions properly is essential for optimal performance. Start by checking that your thermostat accurately reads room temperature by comparing it to a reliable thermometer placed nearby.
Test all operating modes – heating, cooling, and fan-only settings – to verify they trigger appropriate responses from your heat pump. Watch for delayed responses or systems that don’t start when commanded, as these can indicate wiring issues or failing components.
Check your thermostat’s programming to ensure seasonal schedules still make sense for your household routine. Many people forget to adjust programs after daylight saving time changes or shifts in daily schedules. If you have a smart thermostat, verify it’s still connected to your Wi-Fi network and receiving software updates.
Battery-powered thermostats need fresh batteries at least annually, even if they seem to be working fine. Weak batteries can cause erratic behavior or complete system failures at the worst possible moments.
Test defrost cycle operation
The defrost cycle prevents ice buildup on your heat pump’s outdoor coil during heating mode, making it critical for winter operation readiness. Even though you’re preparing for warmer weather, testing this function during spring maintenance ensures it’ll work when needed next winter.
Most heat pumps have defrost sensors and controls that automatically initiate the cycle when needed. You can simulate defrost conditions by covering temperature sensors with ice or using manufacturer-specific test procedures outlined in your owner’s manual.
During a proper defrost cycle, you should observe the outdoor fan stopping, the reversing valve switching to cooling mode, and the auxiliary heating elements activating indoors. The cycle typically lasts 5-10 minutes and should end when the coil temperature rises sufficiently or a time limit expires.
Watch for signs of defrost system problems, including ice accumulation that doesn’t clear, cycles that run too frequently, or outdoor units that never seem to defrost properly. These issues can significantly impact heating efficiency and may damage your equipment.
Evaluate ductwork for leaks or damage
Your ductwork plays a crucial role in delivering conditioned air throughout your home, and leaks can waste 20-30% of your system’s output. Spring provides an ideal opportunity to inspect accessible ductwork sections for problems that developed over the heating season.
Start by examining joints where duct sections connect, as these areas commonly develop gaps over time. Look for separated joints, damaged tape or mastic, and sections that appear loose or disconnected. Check flexible ducts for kinks, tears, or compression that restricts airflow.
Pay attention to ducts in unconditioned spaces like crawl spaces, basements, or attics, as these areas experience the most temperature fluctuations and potential damage. Look for signs of moisture damage, mold growth, or insulation problems that can affect both efficiency and indoor air quality.
Use your hand to feel for air leaks around duct joints while the system runs, or use a smoke pencil to visualize airflow patterns. Significant leaks often produce noticeable air movement or whistling sounds when the system operates.
Professional Maintenance Benefits vs DIY Approaches
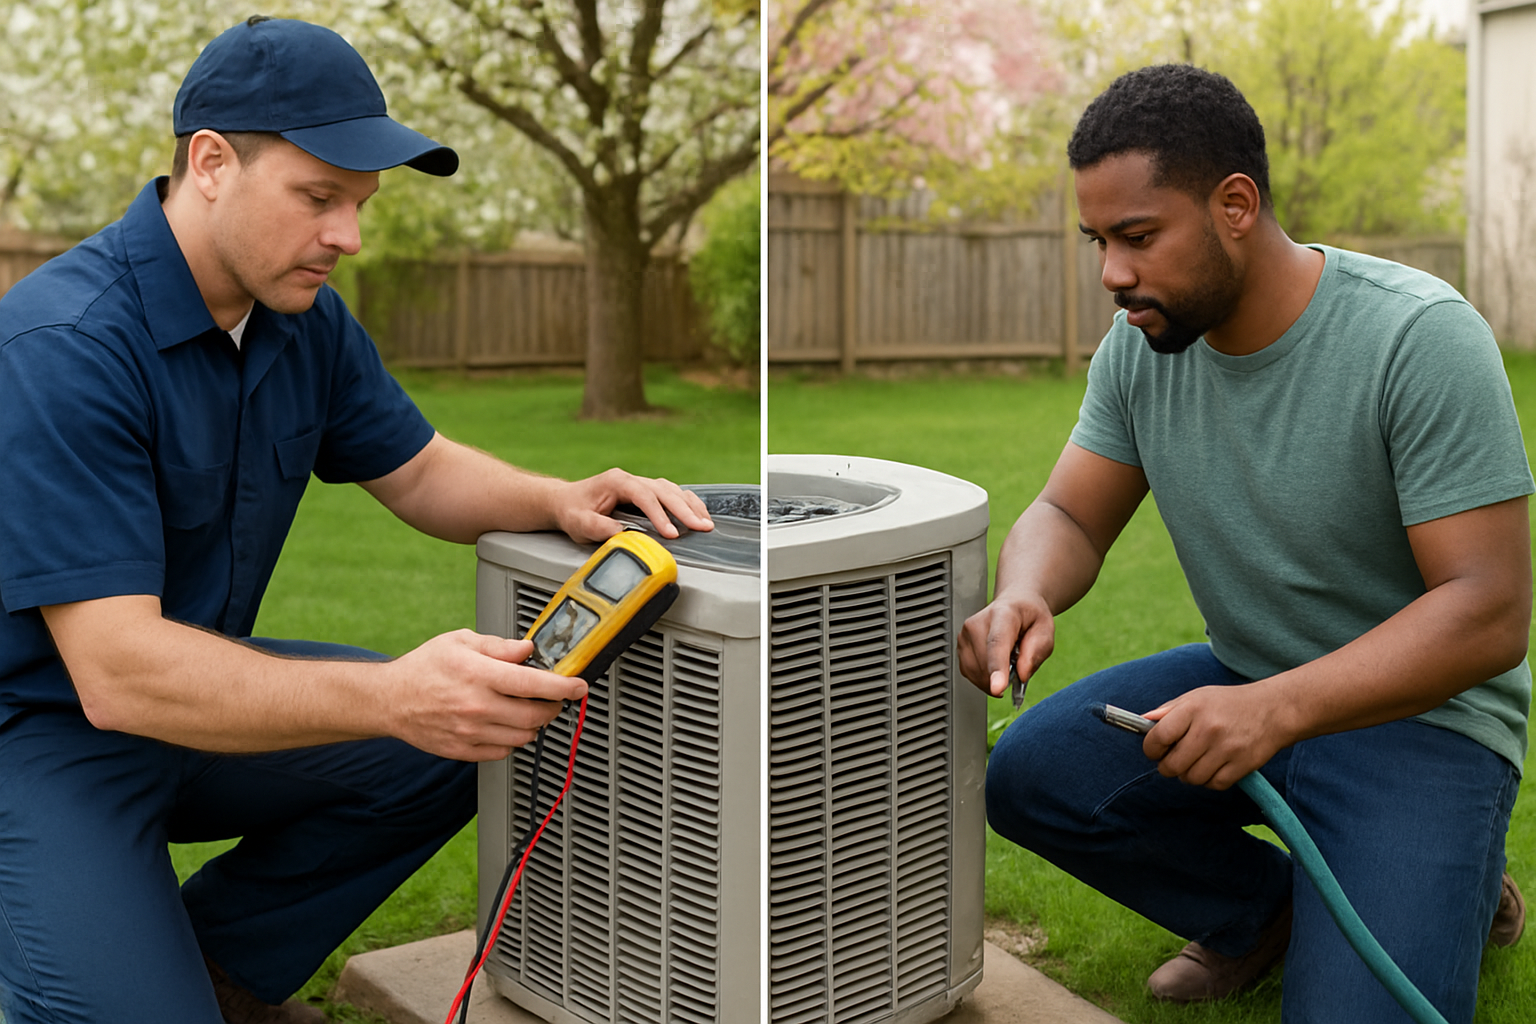
Safety Considerations for Electrical and Refrigerant Work
Your heat pump contains high-voltage electrical components and pressurized refrigerant systems that demand specialized knowledge to handle safely. When you attempt to service these systems without proper training, you’re putting yourself at risk of electrical shock, refrigerant burns, or even system damage that could cost thousands to repair.
Refrigerant lines operate under significant pressure and require specific handling techniques. If you accidentally puncture a line or improperly disconnect fittings, you could face dangerous refrigerant exposure or create environmental hazards. Professional technicians wear protective equipment and follow strict protocols when working with these systems.
Electrical connections in your heat pump carry 240 volts or more – enough to cause serious injury or death. Without proper lockout/tagout procedures and voltage testing equipment, you can’t safely work on electrical components. Licensed technicians understand electrical safety codes and have the training to identify potential hazards before they become dangerous.
Specialized Tools and Expertise Required
Professional heat pump seasonal maintenance requires tools you likely don’t have in your garage. Refrigerant recovery machines, digital manifold gauges, leak detectors, and calibrated thermometers are essential for proper diagnosis and service. These tools often cost thousands of dollars and require training to use effectively.
Your HVAC technician brings years of experience diagnosing subtle performance issues that might escape your notice. They can identify worn capacitors before they fail, detect refrigerant leaks in early stages, and spot electrical connections showing signs of corrosion or loosening. This expertise comes from working on hundreds of systems and understanding how different components interact.
Spring heat pump maintenance involves more than basic cleaning – it requires system performance analysis, refrigerant pressure testing, and electrical component evaluation. Professional technicians use diagnostic equipment to measure superheat, subcooling, and airflow rates, ensuring your system operates at peak efficiency throughout the cooling season.
Warranty Protection and Liability Coverage
Your heat pump manufacturer’s warranty likely requires professional maintenance to remain valid. If you attempt DIY repairs and something goes wrong, you could void your warranty coverage entirely, leaving you responsible for expensive repairs that would otherwise be covered.
Licensed HVAC contractors carry liability insurance that protects you if their work causes damage to your system or property. When you do the work yourself, you assume all responsibility for any problems that arise. If your DIY heat pump tune up spring goes wrong and damages your system, you’re paying for repairs out of pocket.
Professional maintenance creates documentation that warranty claims require. Your technician provides detailed service records showing proper maintenance intervals and procedures, which manufacturers need to honor warranty coverage. Without these records, you might struggle to get warranty repairs approved even for unrelated component failures.
Timing Your Heat Pump Seasonal Transition
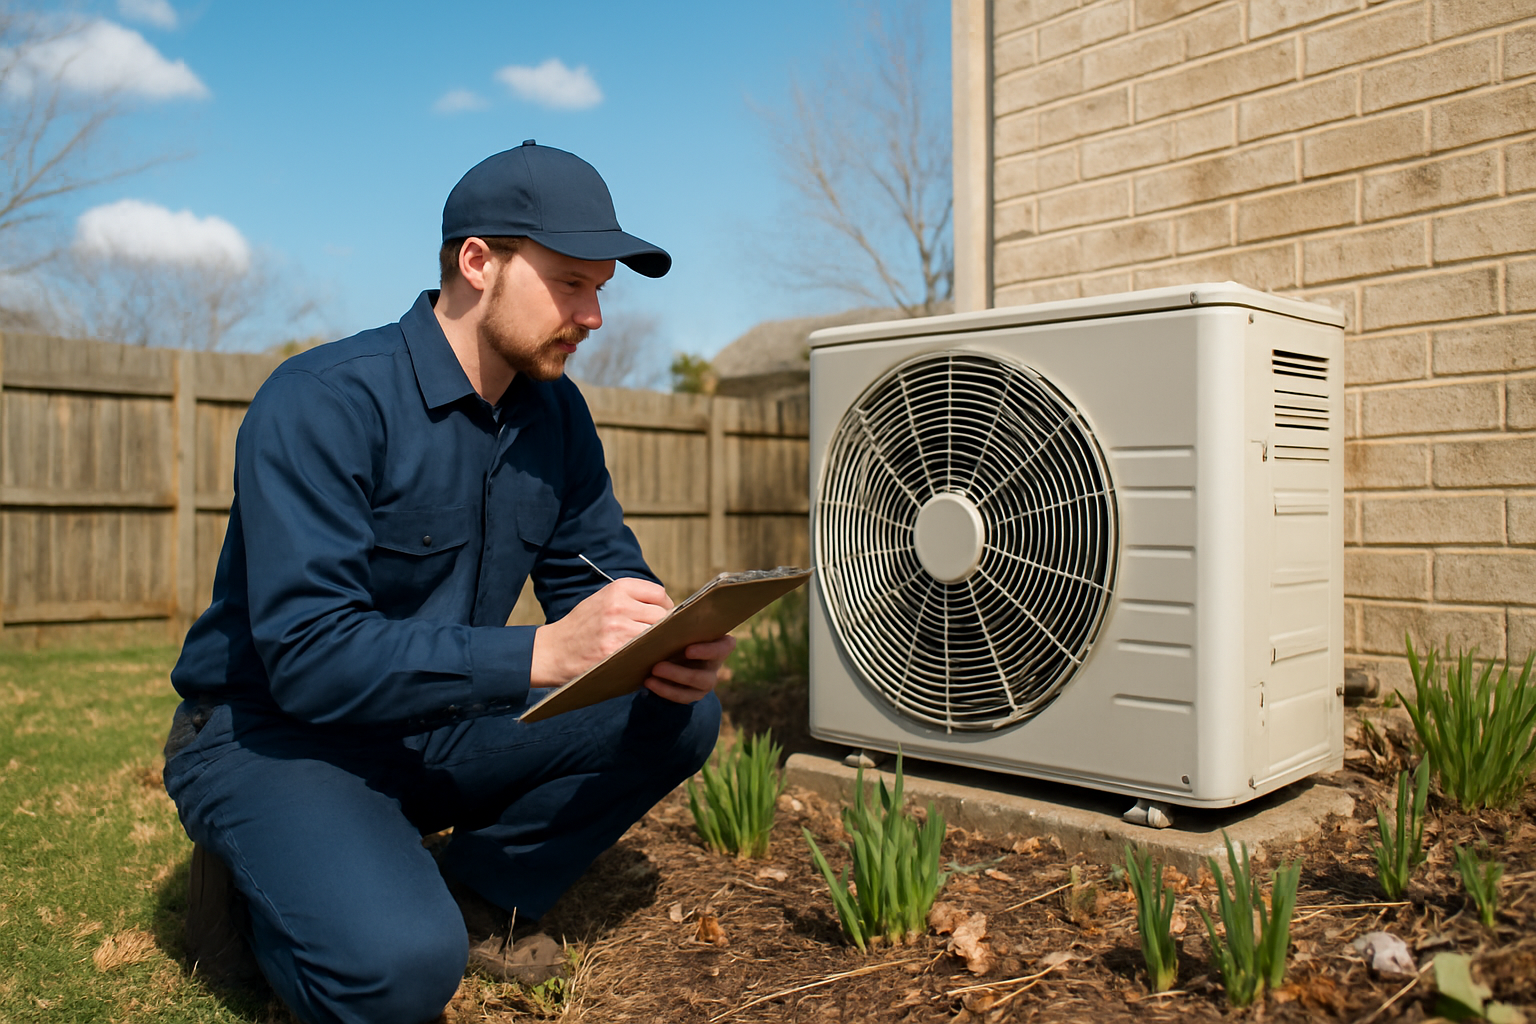
Best Months for Spring Maintenance Scheduling
March through May represents the sweet spot for your heat pump spring maintenance schedule. You’ll want to tackle this essential task before the summer cooling season kicks into high gear, but after the harsh winter weather has passed. Early to mid-March works perfectly in most climates, giving you enough time to address any issues before you need reliable cooling performance.
Your timing depends heavily on your local climate patterns. If you live in southern regions where cooling needs start earlier, schedule your heat pump maintenance in late February or early March. Northern homeowners have more flexibility, with April often being the ideal month for comprehensive seasonal heat pump service.
Don’t wait until the first hot day of the year to discover problems. HVAC professionals get swamped with emergency calls during peak season transitions, making it harder to schedule appointments and potentially more expensive. Book your heat pump tune up spring appointment during the slower months when technicians have more time to thoroughly inspect your system.
Consider creating an annual reminder for yourself. Many homeowners successfully schedule their heat pump spring maintenance around daylight saving time or other memorable spring events. This approach helps you stay consistent year after year, protecting your investment and avoiding costly emergency repairs.
Weather Considerations for Switching From Heating to Cooling
Your heat pump doesn’t need an immediate switch from heating to cooling mode. Pay attention to outdoor temperature patterns rather than calendar dates when making this transition. Most experts recommend switching when nighttime temperatures consistently stay above 60°F and daytime temperatures reach the mid-70s.
Watch your local weather forecasts for at least a week before making the switch. Sudden cold snaps can catch you off guard if you’ve already committed to cooling mode. Many modern heat pump systems include automatic changeover features, but you still need to understand when manual intervention makes sense.
Humidity levels play a crucial role in your comfort and your heat pump’s efficiency. Spring weather often brings higher humidity, which affects how warm or cool your home feels. Your heat pump’s dehumidification capabilities become more important during this transition period, so ensure your system is clean and ready to handle moisture removal effectively.
Consider the thermal mass of your home during seasonal transitions. Larger homes with more insulation take longer to adjust to temperature changes, while smaller or less insulated homes respond more quickly. This affects when you should make the switch and how aggressively you should adjust temperature settings.
Gradual Temperature Adjustment Strategies
Start your seasonal transition with small temperature adjustments rather than dramatic changes. If you’ve been keeping your home at 70°F during winter heating, don’t immediately jump to 65°F for cooling. Instead, gradually adjust your thermostat by 2-3 degrees every few days until you reach your preferred cooling season temperature.
Your family needs time to acclimate to changing indoor conditions. Gradual adjustments help everyone’s comfort level while reducing strain on your heat pump system. This approach also helps you identify any performance issues before you depend heavily on cooling capacity.
Program your thermostat to handle gradual transitions automatically if you have a programmable or smart model. Set different temperature schedules for different times of day, allowing warmer temperatures when nobody’s home and cooler settings when the family is active. This strategy optimizes both comfort and energy efficiency during the spring heat pump maintenance transition period.
Monitor your energy bills during this adjustment period. Sudden spikes in energy usage might indicate your heat pump is working harder than necessary, possibly due to maintenance issues or incorrect settings. Keep track of outdoor temperatures alongside your energy consumption to establish baseline performance expectations for the coming cooling season.
Test your heat pump’s cooling function on a mild day before you really need it. Run the system for an hour or two to verify proper operation, check for unusual noises, and ensure adequate airflow from all vents. This proactive approach lets you address problems while weather conditions are still comfortable.
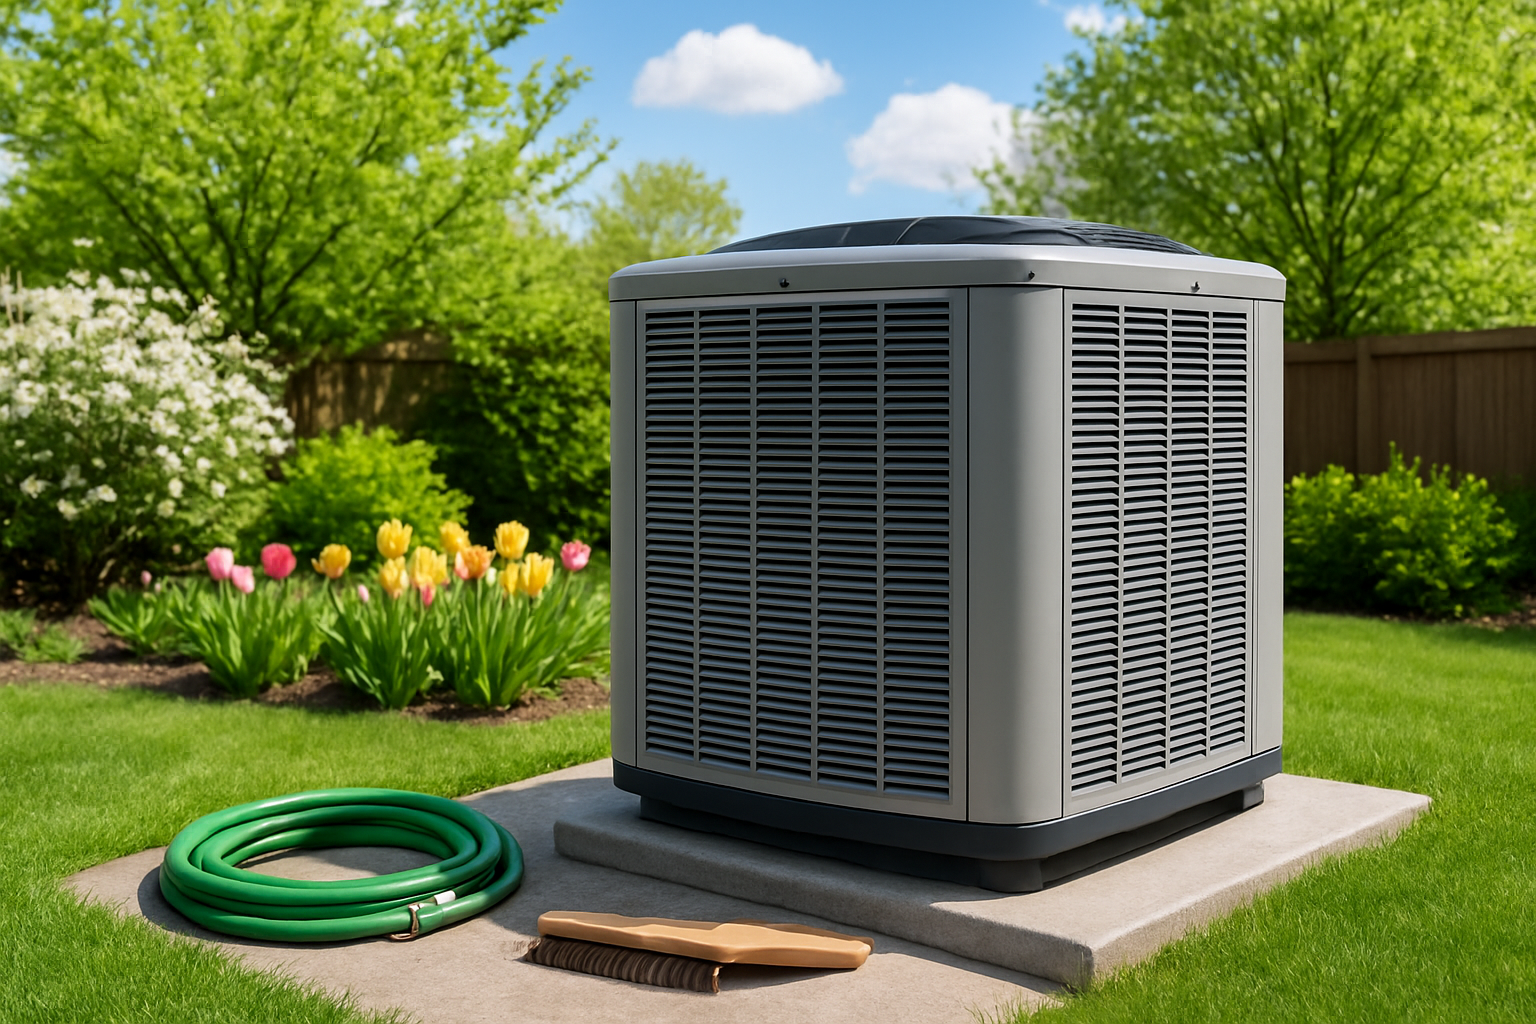
Your heat pump works hard year-round, switching between heating and cooling to keep your home comfortable. Regular spring maintenance helps catch small problems before they turn into expensive repairs. Clean filters, clear outdoor units, and proper refrigerant levels make the difference between a system that runs smoothly and one that struggles when you need it most.
Don’t wait until the first hot day of summer to discover your heat pump isn’t ready. Schedule your spring maintenance now, whether you tackle basic tasks yourself or call in a professional for a complete inspection. Your future self will thank you when your home stays cool and your energy bills stay reasonable all season long.
Ready to make sure your home is comfortable and efficient this spring? Contact UG Nasons today for expert HVAC maintenance, upgrades, and emergency service across Rhode Island. Get in touch now!