
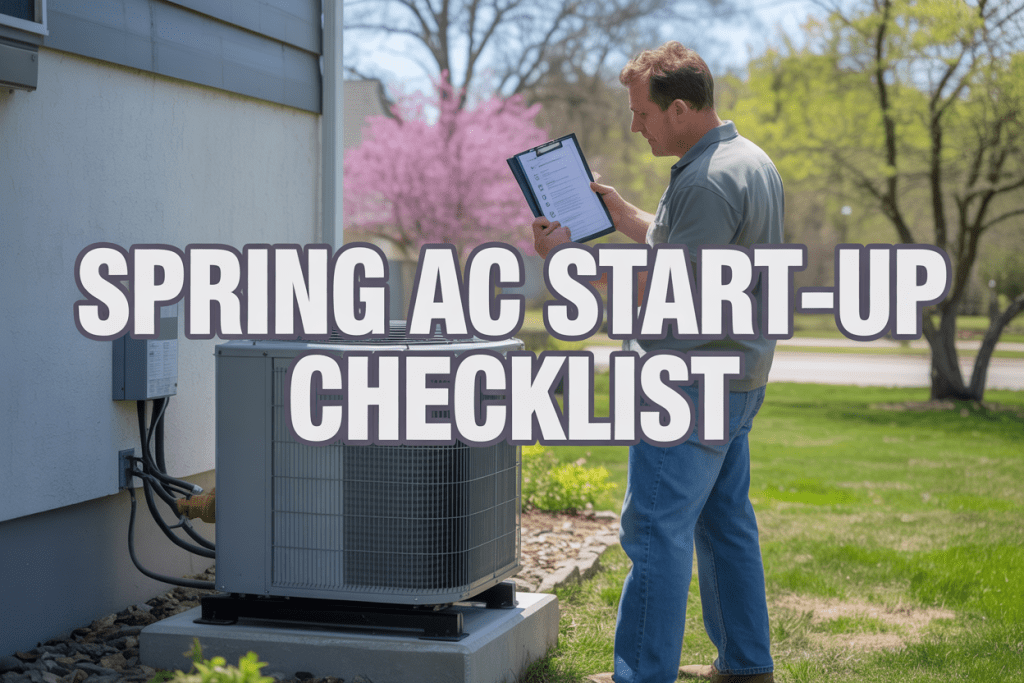
As spring temperatures start climbing, you’re probably eager to fire up your air conditioning system after months of winter hibernation. Before you flip that thermostat switch, though, your HVAC system needs some attention to run safely and efficiently all season long.
This spring HVAC maintenance guide is designed for homeowners who want to tackle basic AC startup tasks themselves while knowing when to call in the pros. You don’t need to be a technical expert – just someone who cares about keeping your home comfortable and your energy bills reasonable.
We’ll walk you through the essential safety steps you must take before powering up your system, show you how to inspect and clean your outdoor unit for peak performance, and help you identify which indoor HVAC components need your attention. You’ll also learn when DIY efforts should give way to professional HVAC service, and discover simple ways to test your system’s performance once everything’s up and running.
Getting your AC ready for spring doesn’t have to be overwhelming. With this AC startup checklist, you’ll have the confidence to prepare your air conditioning system properly and catch potential issues before they become expensive problems.
Essential Safety Precautions Before AC Startup
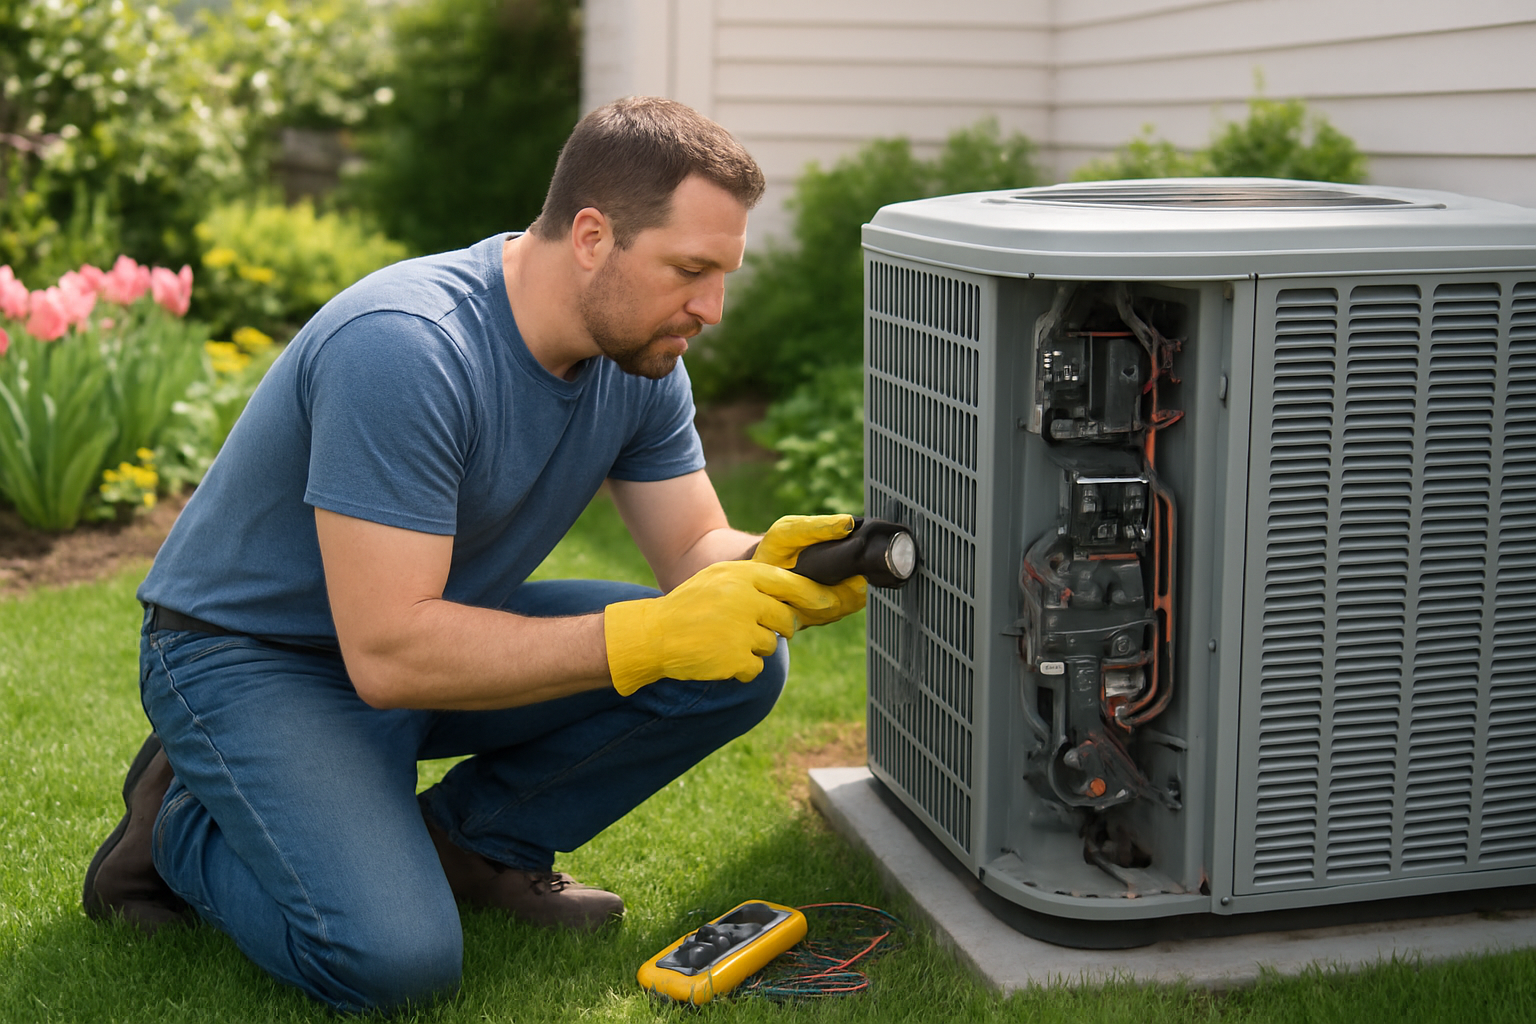
Turn off power at the circuit breaker
Your first step in any spring HVAC maintenance should be cutting power to your entire system. Head to your electrical panel and locate the circuit breaker dedicated to your air conditioning unit. Flip it to the “off” position and double-check that it’s completely shut down. Many AC units have both indoor and outdoor components, so you might need to turn off multiple breakers.
Don’t skip this step, even if you’re just planning a quick visual inspection. Electrical components in HVAC systems carry significant voltage that can cause serious injury or death. Even experienced technicians never work on live systems. Take a moment to verify the power is off by checking that your thermostat display is blank or shows no cooling functions available.
If you’re unsure which breaker controls your AC system, look for labels on your electrical panel or test each breaker systematically. Some homes have the outdoor unit on a separate disconnect switch located near the unit itself – make sure to turn that off too.
Ensure all family members are aware of maintenance activities
Communication with your household members prevents accidents and confusion during your spring AC maintenance routine. Let everyone know you’ll be working on the HVAC system and that the air conditioning will be temporarily unavailable. This is especially important if you have teenagers or other adults who might adjust the thermostat while you’re working.
Post a note on your thermostat or tape over the controls to remind family members not to attempt turning on the system. If you have young children, explain that the outdoor unit will have panels removed and should be avoided completely. Consider establishing a “work zone” around both your indoor and outdoor units where family members shouldn’t walk or play.
Your family should also know your estimated timeline for completion. If your maintenance work extends longer than expected, they won’t worry about the lack of cooling or accidentally interfere with your progress. This proactive communication step, similar to the safety measures outlined in Fall HVAC Checklist Rhode Island | Winter Prep Guide, helps create a safe working environment for everyone.
Gather necessary tools and protective equipment
Proper preparation means having the right tools and safety gear ready before you start your spring HVAC maintenance. Your basic toolkit should include screwdrivers (both flathead and Phillips), pliers, a flashlight or headlamp, and a garden hose for cleaning outdoor components. Don’t forget a sturdy ladder if you need to access higher areas of your outdoor unit.
Safety equipment is just as important as your tools. Wear safety glasses to protect your eyes from debris when cleaning coils or removing panels. Heavy work gloves protect your hands from sharp metal edges and dirty components. Closed-toe shoes with good grip prevent slips and protect your feet from falling objects or electrical hazards.
Keep a first aid kit nearby, especially when working with metal components that can cause cuts. Have your phone accessible in case you need to call for help or reference your HVAC system’s manual. If you’re planning more extensive maintenance, consider having a shop vacuum available for cleaning debris from hard-to-reach areas.
Organize your tools in a portable toolbox or bucket so you’re not constantly running back and forth to your garage. This organization keeps you focused on the task and reduces the chance of leaving tools near electrical components where they could cause problems.
Outdoor Unit Inspection and Cleaning
Remove Debris and Vegetation Around the Condenser
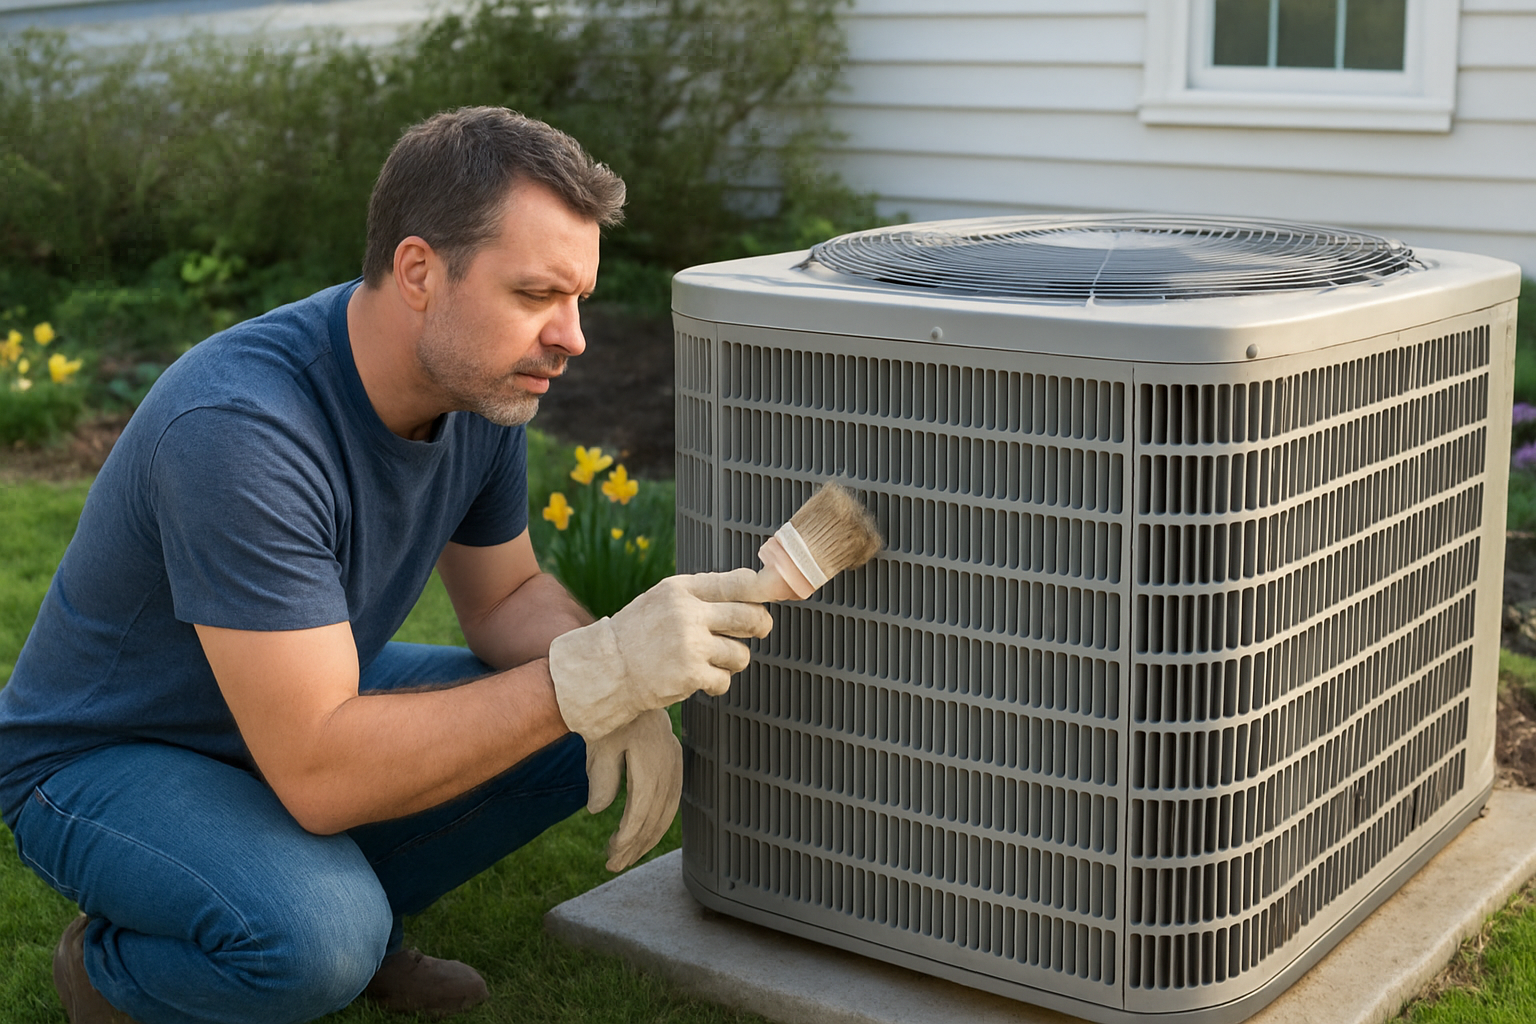
Your outdoor unit has been battling winter’s harsh elements, collecting leaves, dirt, and debris throughout the season. Start your spring HVAC maintenance by creating a clear zone around your condenser unit. You’ll want to remove any accumulated leaves, branches, or trash that may have blown against the unit during winter storms.
Clear away all vegetation within at least two feet of your unit on all sides. Trim back shrubs, weeds, and grass that may have grown too close during the off-season. This clearance allows proper airflow and prevents your system from working harder than necessary. Check for any mulch or landscaping materials that might be blocking the unit’s base vents.
Don’t forget to look up – remove any overhanging branches that could drop debris onto your unit or restrict airflow from above. Your condenser needs room to breathe, and proper clearance prevents costly repairs down the road.
Clean Condenser Coils and Fins Thoroughly
Your condenser coils are the heart of your outdoor unit’s heat exchange process, and they need attention after months of accumulating dirt and grime. Turn off power to your unit at both the outdoor disconnect and your home’s electrical panel before starting any cleaning work.
Remove the protective grille or top panel to access the coils. Use a garden hose with a gentle spray to rinse the coils from inside the unit, working from top to bottom. Avoid using high pressure, as this can damage the delicate aluminum fins. For stubborn dirt buildup, apply a commercial coil cleaner following the manufacturer’s instructions.
The fins surrounding your coils are easily bent and require careful attention. Use a fin comb or soft brush to straighten any bent fins you discover. Bent fins reduce airflow and force your system to work harder, increasing energy costs. If you notice extensive fin damage, consider calling a professional for repairs.
Check Refrigerant Lines for Damage or Wear
Your refrigerant lines connect your outdoor condenser to your indoor evaporator, and winter weather can take its toll on these critical components. Inspect the larger insulated line (suction line) for any tears, cracks, or missing insulation. Damaged insulation reduces your system’s efficiency and can lead to condensation problems.
Look for any signs of refrigerant leaks around the line connections. Oil stains or greasy residue around fittings often indicate leak issues that require professional attention. Check where the lines enter your home for any gaps or damage to the sealing materials.
Examine the smaller uninsulated line (liquid line) for dents, kinks, or corrosion. Even minor damage to these lines can affect your system’s performance. If you discover any concerning issues with your refrigerant lines, schedule professional service before starting your system.
Inspect Electrical Connections and Wiring
Weather and time can wreak havoc on your outdoor unit’s electrical components. Before your spring HVAC maintenance continues, ensure all power is turned off at both the disconnect switch and main electrical panel.
Check all visible wiring for signs of damage, including cracked insulation, exposed wires, or evidence of pest damage. Look for any loose connections at the disconnect box and where wiring enters the unit. Tighten any loose wire nuts or connections you can safely access, but leave complex electrical work to qualified professionals.
Inspect the contactor and capacitor if your unit allows easy access. Look for signs of burning, pitting on contact points, or bulging capacitors. These components often fail after extended periods of inactivity and may need replacement before your first startup of the season.
Your electrical connections should be clean, tight, and free from corrosion. Any signs of burning, melting, or significant corrosion warrant immediate professional attention before operating your system.
Indoor System Components Check
Replace or Clean Air Filters for Optimal Airflow
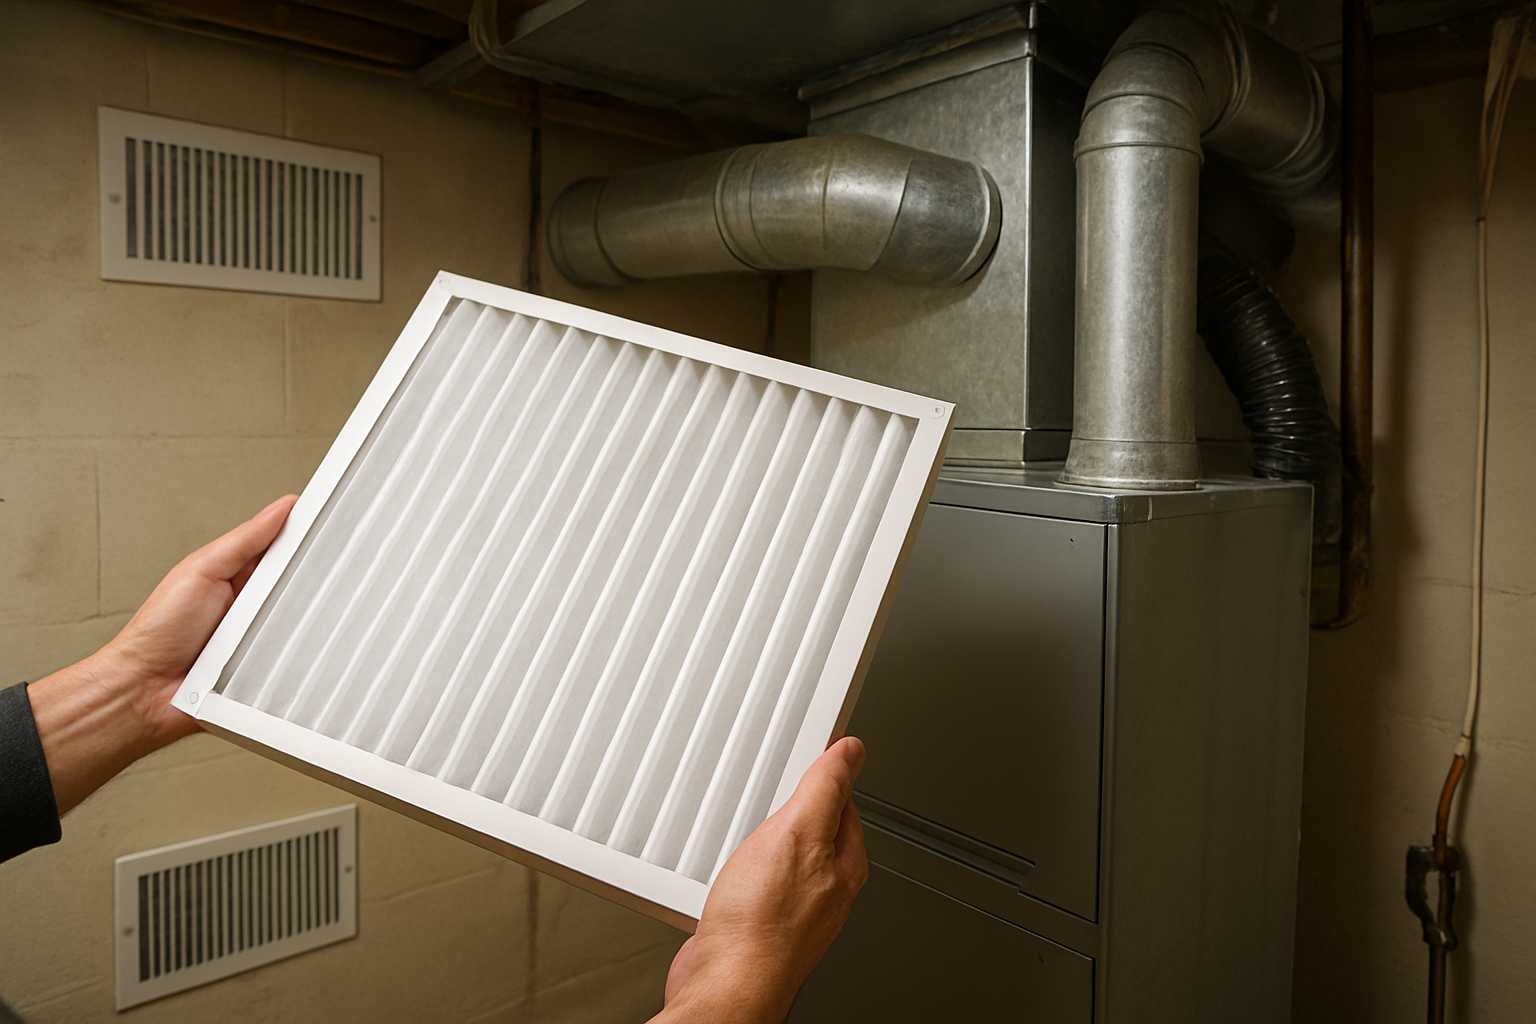
Your air filter is the unsung hero of your spring HVAC maintenance routine. After months of winter operation, you’ll likely find your filter clogged with dust, pet dander, and other airborne particles. A dirty filter forces your system to work harder, reducing efficiency and increasing energy costs.
Check your filter monthly during peak usage seasons. If you can’t see light through it when held up to a bright source, it’s time for a replacement. Standard 1-inch filters should be replaced every 30-90 days, while thicker pleated filters can last 3-6 months. For homes with pets or allergy sufferers, more frequent changes are necessary.
When selecting new filters, look for the MERV rating that matches your system’s specifications. Higher ratings capture smaller particles but can restrict airflow if your system isn’t designed to handle them. Choosing the right air filters becomes especially important for maintaining clean indoor air during spring when pollen counts rise.
Inspect Ductwork for Leaks and Blockages
Your ductwork delivers conditioned air throughout your home, but leaks can waste up to 30% of your system’s energy. Start your inspection in accessible areas like basements, crawl spaces, and attics. Look for disconnected joints, holes, or damaged insulation around ducts.
Common signs of ductwork problems include:
- Uneven temperatures between rooms
- Higher than normal energy bills
- Excessive dust in certain areas
- Whistling or rattling sounds from vents
Use your hands to feel for air leaks around connections while the system runs. Small gaps can be sealed with mastic sealant or metal tape (avoid regular duct tape, which deteriorates over time). Larger issues require professional attention.
Check for blockages by looking into accessible duct sections with a flashlight. Debris, construction materials, or even small toys can restrict airflow. Remove visible obstructions carefully, but leave complex cleaning to professionals.
Clean Air Vents and Registers Throughout the Home
Dusty vents and registers not only look unsightly but also reduce your system’s efficiency. Remove each register cover and wash them in warm, soapy water. For stubborn grime, use an old toothbrush to scrub between slats.
While covers dry, vacuum the visible portions of your ductwork using a brush attachment. Don’t push debris further into the system – just clean what you can easily reach. Wipe down the surrounding wall or floor area to remove any dust that’s settled.
Pay special attention to bathroom and kitchen vents, which often accumulate more debris due to humidity and cooking particles. Check that dampers move freely and aren’t stuck in one position.
Before reinstalling covers, make sure all screws and mounting hardware are secure. Loose registers can create rattling noises and allow conditioned air to escape into wall cavities instead of your living space.
Check Thermostat Settings and Battery Replacement
Your thermostat serves as mission control for your entire HVAC system. Start by switching from heating to cooling mode and setting the temperature a few degrees below the current room temperature. You should hear your system engage within a few minutes.
Replace batteries in programmable thermostats even if they seem to be working fine. Weak batteries can cause erratic behavior or complete system failure at the worst possible times. Most thermostats will display a low battery warning, but don’t wait for it to appear.
Review your programmed schedule to match your spring and summer routine. Adjust settings for daylight saving time changes and any shifts in your daily schedule. Consider raising your cooling setpoint by a few degrees when you’re away from home to save energy without sacrificing comfort.
If your thermostat is more than 10 years old, upgrading to a programmable or smart model can significantly improve your system’s efficiency and your home’s comfort level throughout the warmer months ahead.
Professional Service Requirements
Schedule Annual Professional Tune-Up and Inspection
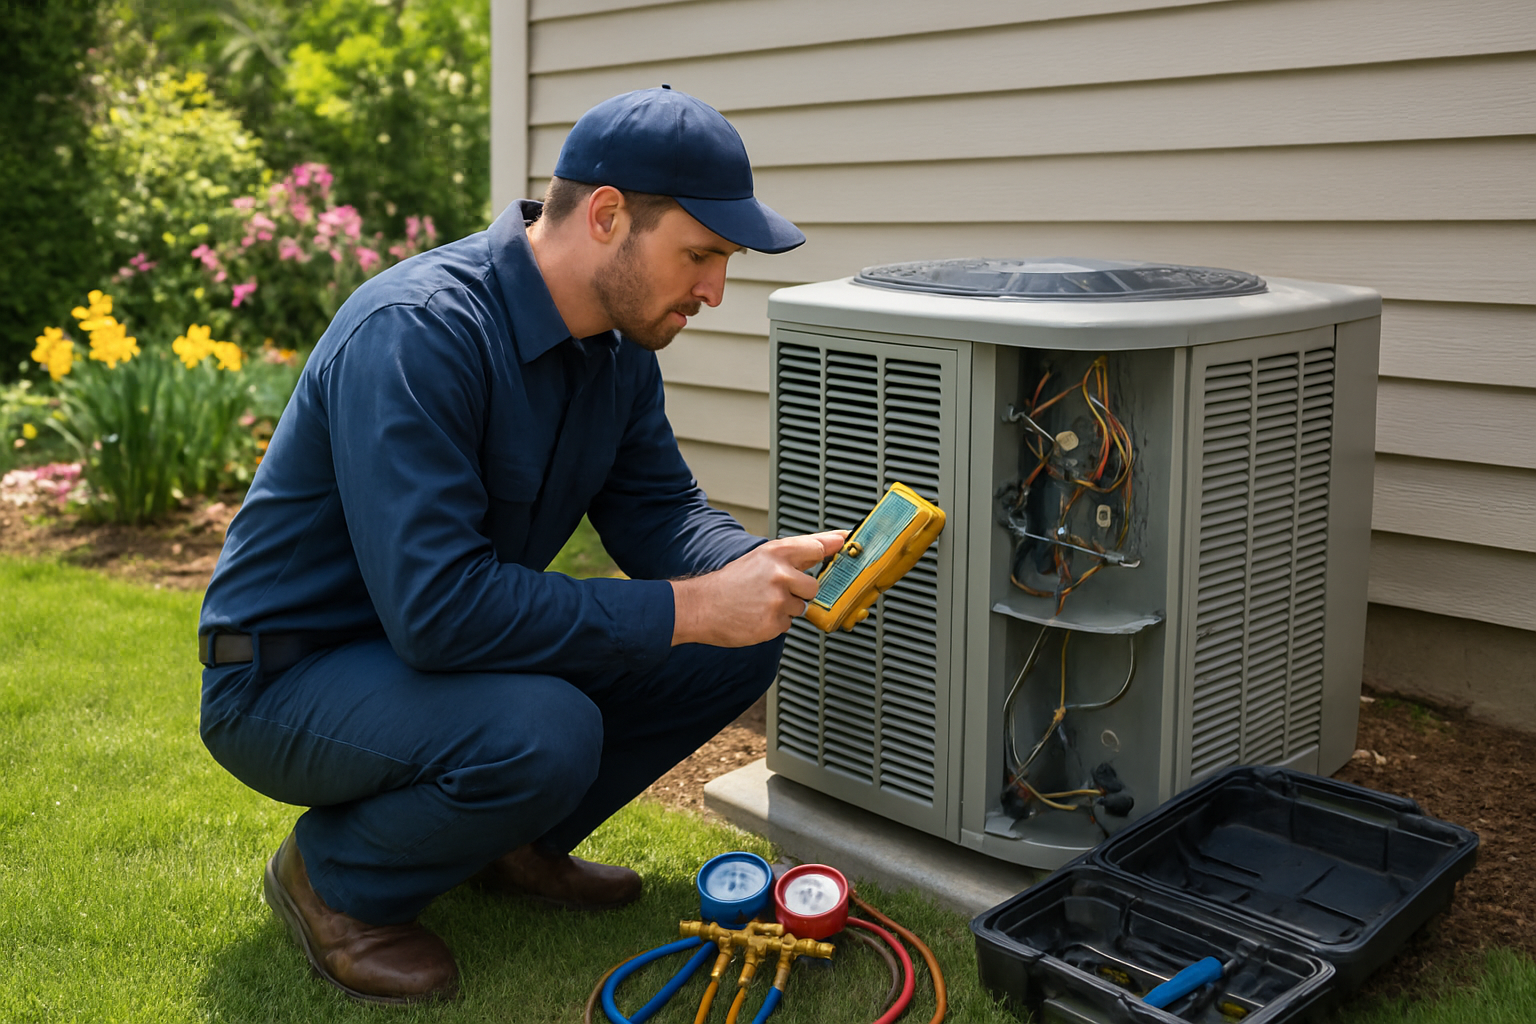
Your spring HVAC maintenance routine should always include scheduling a professional tune-up before the cooling season begins. HVAC technicians perform comprehensive inspections that go far beyond what you can accomplish on your own, checking refrigerant levels, testing electrical connections, calibrating thermostats, and examining components that require specialized tools and expertise.
Professional technicians clean internal coils, lubricate moving parts, and test system pressures to ensure optimal performance. They also identify potential issues before they become costly repairs, saving you money and preventing unexpected breakdowns during peak summer months. Most HVAC contractors recommend scheduling your Spring HVAC Tune-Up between March and May, before demand peaks and availability becomes limited.
Identify Warning Signs That Require Immediate Expert Attention
You need to recognize when your system requires immediate professional attention rather than attempting DIY fixes. Strange noises like grinding, squealing, or banging sounds indicate mechanical problems that could worsen rapidly. Unusual odors, especially burning smells or musty odors, signal potential electrical issues or mold growth that require expert diagnosis.
Watch for these red flags:
- Ice formation on indoor or outdoor coils
- Frequent cycling on and off
- Weak airflow from vents despite clean filters
- Unusual humidity levels inside your home
- Electrical issues like tripped breakers or flickering lights when the AC starts
- Refrigerant leaks indicated by hissing sounds or oily residue around connections
Temperature inconsistencies throughout your home, skyrocketing energy bills, or water pooling around your indoor unit also warrant immediate professional attention.
Understand Warranty Requirements and Maintenance Documentation
Your HVAC system’s warranty protection depends on proper maintenance documentation and professional service records. Most manufacturers require annual professional maintenance to keep warranties valid, and you’ll need proof of these services if warranty claims arise.
Keep detailed records including:
| Document Type | What to Include | Why It Matters |
|---|---|---|
| Service Records | Dates, technician names, work performed | Warranty validation |
| Receipts | Parts, labor, materials costs | Tax deductions, resale value |
| Maintenance Logs | Filter changes, cleaning dates, observations | Troubleshooting reference |
| Warranty Documentation | Coverage details, expiration dates | Claim eligibility |
Professional HVAC service helps maintain your system’s energy efficiency, which directly impacts your cooling costs throughout the summer. Regular professional maintenance typically improves system efficiency by 10-15%, making the service investment worthwhile through reduced energy bills and extended equipment life.
System Testing and Performance Optimization
Gradually power up the system following proper sequence
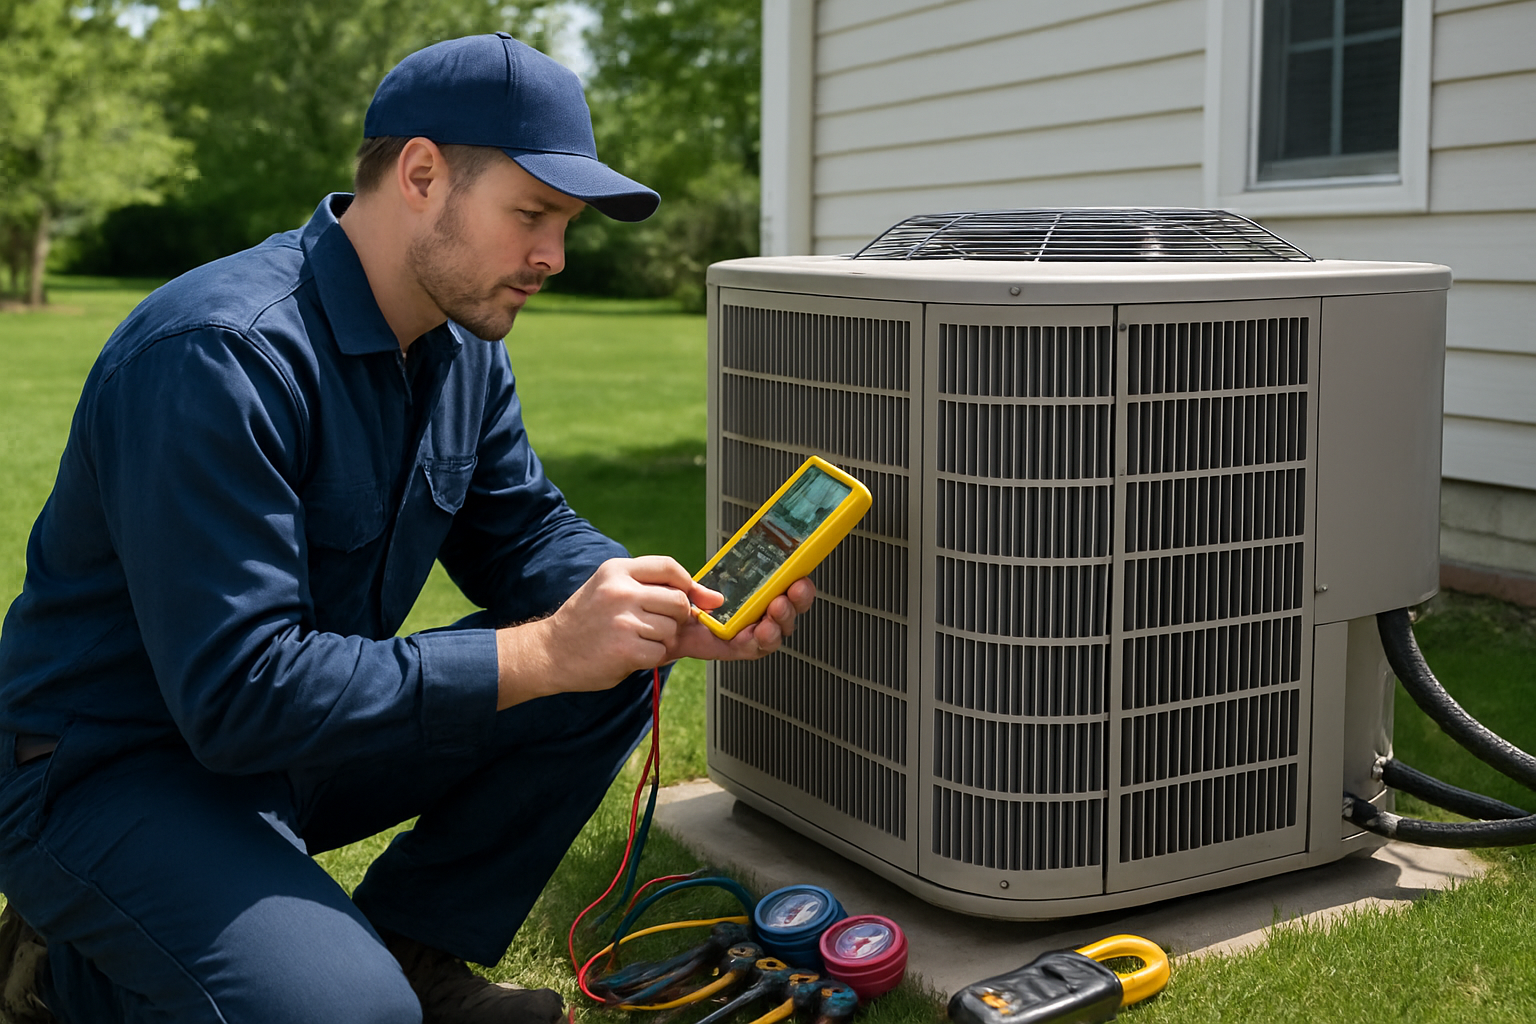
Starting your AC system properly sets the foundation for optimal performance throughout the cooling season. Begin by turning your system on at the thermostat and setting it to “cool” mode with a temperature about 5 degrees below your current room temperature. This gentle approach allows your system to start smoothly without shocking the components.
Wait at least 5 minutes between each step to give your system time to respond. Your outdoor unit should start within a few minutes, followed by cool air flowing from your vents. If nothing happens after 10-15 minutes, turn off the system and check your circuit breakers or contact a professional.
Monitor initial operation for unusual sounds or odors
Pay close attention to your system during the first hour of operation. Normal sounds include a gentle hum from the outdoor unit and quiet whooshing from air vents. Watch for warning signs like grinding, squealing, banging, or rattling noises that could indicate loose parts or mechanical issues.
Strange odors deserve immediate attention. A brief dusty smell is normal after months of inactivity, but burning odors, musty smells, or chemical scents signal potential problems. Turn off your system immediately if you detect these concerning odors and schedule professional service.
Test cooling efficiency and airflow in different rooms
Walk through your home and check each room’s cooling performance. Hold your hand near vents to feel for consistent airflow – weak airflow might indicate clogged filters or ductwork issues. Temperature differences of more than 3-4 degrees between rooms suggest airflow imbalances or potential ductwork problems.
Use a thermometer to verify that your system reaches the set temperature within a reasonable timeframe. Most systems should cool your home 2-3 degrees within the first hour of operation. Document any rooms that consistently feel warmer or receive poor airflow for future reference.
Adjust thermostat settings for maximum energy savings
Smart thermostat programming can significantly reduce your cooling costs during spring AC maintenance. Set your thermostat 7-10 degrees higher when you’re away from home and program it to cool down about 30 minutes before you return.
For optimal efficiency, maintain temperatures between 75-78°F during occupied hours. Each degree lower can increase your energy bills by 6-8%. Consider investing in a programmable or smart thermostat if you haven’t already – these energy-efficient upgrades can provide substantial savings throughout the cooling season while maintaining your comfort.
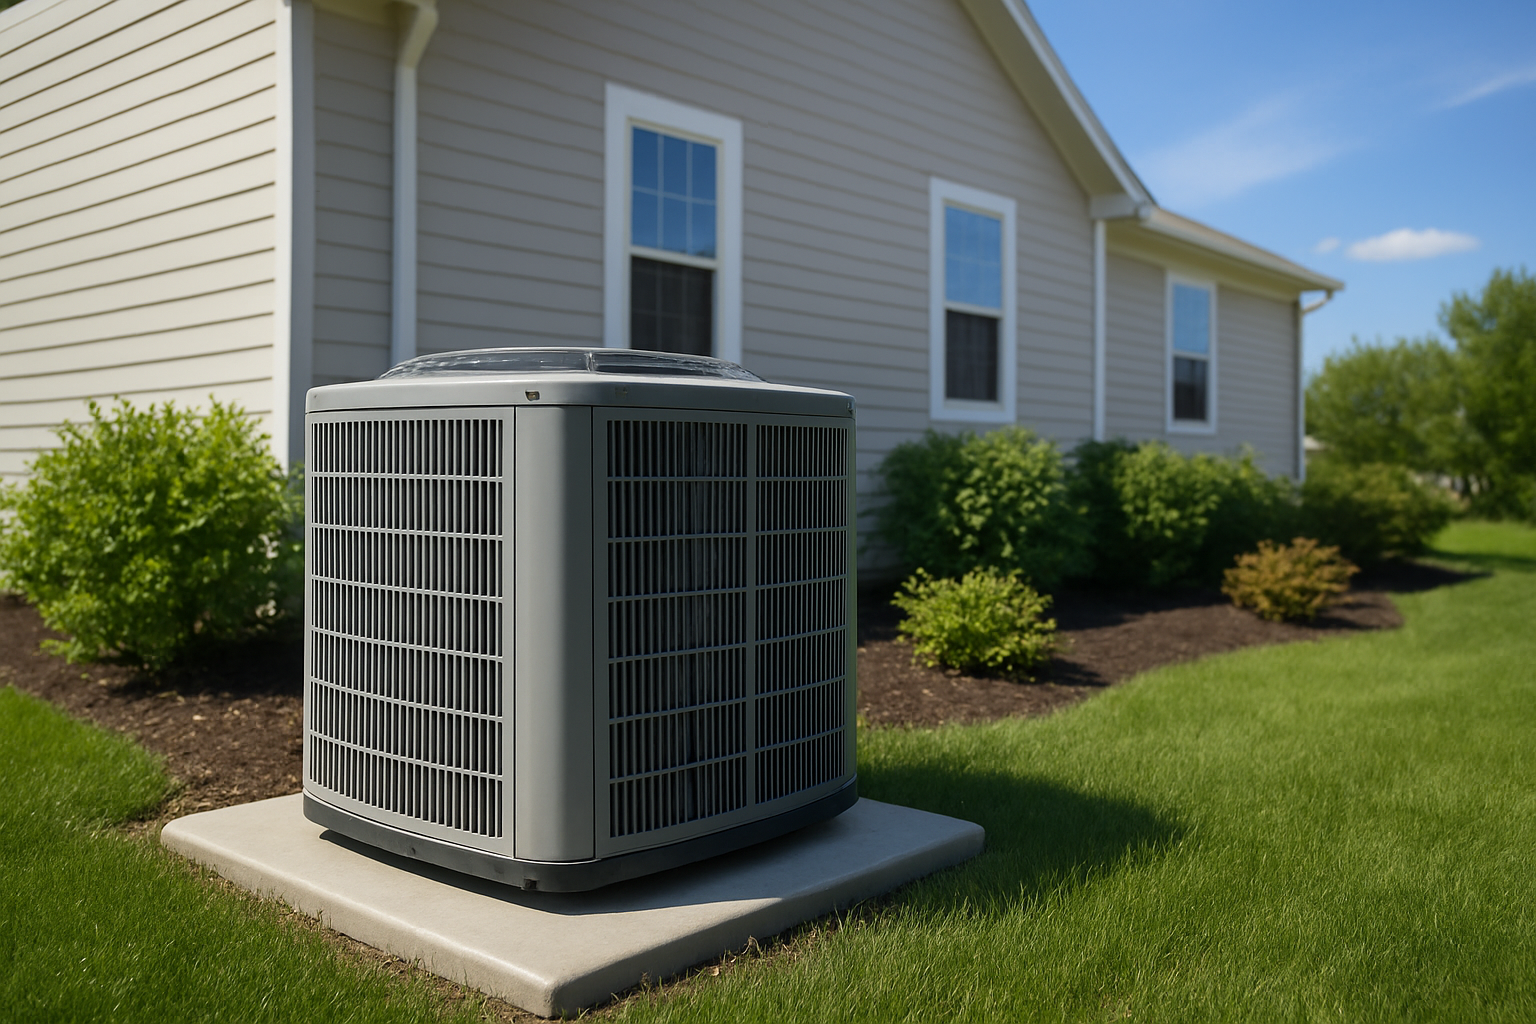
Your AC system needs attention before you flip that switch for the first cooling season. Taking time to inspect both outdoor and indoor components, cleaning debris from your unit, and checking safety features can save you from costly repairs down the road. These simple maintenance steps help your system run efficiently when you need it most during those hot summer months.
Don’t skip the professional tune-up if your system hasn’t been serviced recently. A qualified technician can spot potential problems you might miss and ensure your AC operates safely and efficiently. Start your spring prep early, test your system before the heat arrives, and you’ll enjoy reliable cooling all season long. Your wallet and your comfort will thank you for the extra effort.
Ready to make sure your home is comfortable and efficient this spring? Contact UG Nasons today for expert HVAC maintenance, upgrades, and emergency service across Rhode Island. Get in touch now!